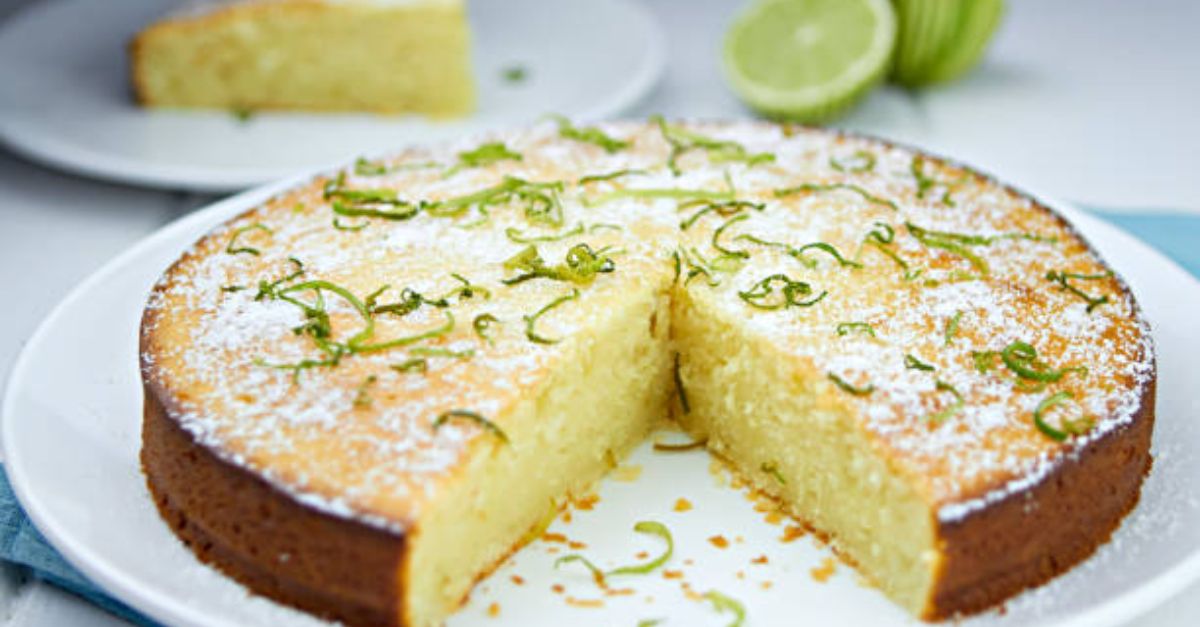
Detail Information
Prep Time 20 minutes
Cook Time 30-35 minutes
Cooling Time 1 hour
Total Time 1 hour 55 minutes
Intensity Medium (Requires careful measuring and gentle mixing)
Yield Two 8-inch (20cm) round cake layers or one 9×13-inch sheet cake.
Dietary Info Vegetarian
Ingredients
For the best results, use high-quality ingredients. I recommend cake flour for an extra-tender crumb, but all-purpose flour will work perfectly.
For the Cake:
300g (2 ½ cups) Cake Flour or All-Purpose Flour
300g (1 ½ cups) Granulated Sugar
1 tablespoon (12g) Baking Powder
½ teaspoon (3g) Fine Sea Salt
170g (¾ cup / 1 ½ sticks) Unsalted Butter, at room temperature
240ml (1 cup) Whole Milk, at room temperature
2 large Eggs + 1 large Egg Yolk, at room temperature
2 teaspoons (10ml) Pure Vanilla Extract or the seeds of 1 vanilla bean pod
1 teaspoon (5ml) Vanilla Bean Paste (optional, for extra flavor and specks)
For the Vanilla Syrup (Soak – Optional but recommended):
This simple syrup adds an extra layer of moisture and flavor, making the cake taste like it came from a high-end bakery.
60g (¼ cup) Granulated Sugar
60ml (¼ cup) Water
1 teaspoon Vanilla Extract
Equipment Needed
Two 8-inch (20cm) round cake pans
Parchment paper
Stand mixer or electric hand mixer
Mixing bowls
Whisk
Rubber spatula
Cooling rack
Kitchen scale (recommended for accuracy)
Instructions: A Step-by-Step Guide
Step 1: Preparation
Preheat your oven to 175°C (350°F). This moderate heat ensures the cake rises evenly and develops a beautiful golden-brown crust without burning.
Prepare your pans: Trace the bottom of your cake pans onto parchment paper and cut out two circles. Place the parchment circles in the bottom of the pans. Do not grease the sides. When the cake bakes, it needs to “climb” the sides to achieve a good height. Greasing the sides can cause the cake to collapse.
Step 2: The Dry Ingredients
In the bowl of your stand mixer fitted with the paddle attachment (or in a large bowl with a hand mixer), combine the flour, sugar, baking powder, and salt.
Mix on low speed for 30 seconds to combine and aerate the dry ingredients.
Step 3: The Reverse Creaming
Add the room-temperature butter, cut into chunks. Mix on low speed until the mixture resembles a coarse, sandy meal. There should be no large chunks of butter left. This step is crucial; it coats the flour particles in fat.
Step 4: The Wet Ingredients
In a separate jug or bowl, whisk together the milk, eggs, egg yolk, and vanilla extract until frothy.
With the mixer on low speed, pour half of the wet ingredients into the dry mixture. Mix until just incorporated.
Increase the speed to medium and beat for 2 minutes. This helps build the cake’s structure.
Reduce the speed back to low and add the remaining wet ingredients. Mix until everything is just combined and the batter is smooth and silky. Do not overmix at this stage to avoid a tough cake.
Step 5: Bake
Evenly divide the batter between your two prepared cake pans. A kitchen scale ensures equal layers.
Tap the pans firmly on the counter a few times to release any large air bubbles.
Bake for 30-35 minutes, or until a toothpick inserted into the center comes out clean, and the tops are springy to the touch.
Step 6: Cool
Remove the pans from the oven and place them on a cooling rack.
Let the cakes cool in their pans for 15 minutes. This is vital; it allows the structure to firm up.
After 15 minutes, run a thin knife around the edge of the pan to loosen the cake.
Invert the pans onto the cooling rack, gently peel off the parchment paper, and then flip them back over so the tops are facing up. Allow the cakes to cool completely to room temperature.
Step 7: The Vanilla Soak (Optional)
While the cakes are cooling, combine the sugar and water in a small saucepan. Heat over medium heat, stirring until the sugar dissolves. Bring to a simmer and cook for 1 minute. Remove from heat and stir in the vanilla. Let it cool.
Once the cakes are completely cool, use a pastry brush to gently brush this syrup over the top of each cake layer before frosting.
Chef’s Tips for Success
Ingredient Temperature: I cannot stress this enough. Cold ingredients will not emulsify, resulting in a dense, curdled-looking batter. Set your eggs and milk out on the counter at least 2 hours before baking.
Measuring Flour: For the most accurate results, use a kitchen scale to weigh your flour. If using cups, spoon the flour into the cup and level it off with a knife—do not scoop it directly from the bag, as this compacts the flour and can lead to a dry cake.
The Toothpick Test: Ovens vary. Start checking your cake at the 28-minute mark. It’s done when a skewer comes out with a few moist crumbs, not wet batter.
Variations
This is a base recipe; let your creativity run wild!
Lemon Sponge: Add the zest of 2 lemons to the dry ingredients and replace the vanilla with 1 tablespoon of lemon extract.
Almond Sponge: Replace 50g of the flour with 50g of finely ground almond meal and add ½ teaspoon of almond extract.
Chocolate Marble: Melt 50g of dark chocolate. Divide your batter in half and mix the chocolate into one portion. Swirl the two batters together in the pan before baking.
Storage Instructions
At Room Temperature: Store the unfrosted cake, wrapped tightly in plastic wrap, for up to 3 days.
In the Fridge: Store a frosted cake in an airtight container in the refrigerator for up to 5 days. Allow it to come to room temperature for the best flavor before serving.
In the Freezer: Wrap the completely cooled cake layers in two layers of plastic wrap and then a layer of foil. Freeze for up to 3 months. Thaw overnight in the refrigerator before using.
Nutrition Information
Nutritional information is an estimate and is calculated for one slice of cake (1/12th of the recipe) without frosting.
Nutrient Amount
Calories 296 kcal
Total Fat 13g
Saturated Fat 8g
Trans Fat 0g
Cholesterol 75mg
Sodium 170mg
Total Carbohydrates 40g
Dietary Fiber 1g
Sugars 23g
Protein 5g