Prep Time: 5 minutes
Cook Time: 45–60 minutes
Total Time: 50–65 minutes
Servings: Makes about 1¾ cups (equivalent to one 14 oz can)
Calories: ~130 kcal per 2 tbsp serving
Introduction
Sweetened condensed milk is one of those magical pantry staples that transforms simple ingredients into rich, creamy desserts. From luscious chocolate fudge and creamy key lime pie to velvety Vietnamese coffee and decadent tres leches cake, this sweet elixir is the secret weapon behind countless beloved recipes.
But what happens when you’re halfway through a recipe and realize you’ve run out of canned condensed milk? Or when you want to avoid the preservatives and stabilizers found in store-bought versions? The answer is simple: make it yourself at home.
Homemade sweetened condensed milk requires just two ingredients and a little patience. The process is straightforward: gently simmer milk and sugar until the mixture reduces by roughly half, becoming thick, glossy, and golden. The result is a product that rivals—and many would argue surpasses—the canned variety in both flavor and freshness.
This recipe is incredibly versatile. Use it immediately in your favorite dessert, store it in the refrigerator for up to two weeks, or freeze it for longer shelf life. Once you master this simple technique, you’ll never be caught without condensed milk again.
Ingredients
| Ingredient | Amount | Notes |
|---|---|---|
| Whole milk | 4 cups (1 liter) | Full-fat milk yields the creamiest result |
| Granulated sugar | 1½ cups (300 g) | White sugar preferred for neutral flavor |
| Unsalted butter | 2 tbsp (28 g) | Optional, for extra richness |
| Pinch of salt | ⅛ tsp | Enhances flavor |
| Vanilla extract | ½ tsp | Optional, for flavor variation |
Equipment Needed
-
Heavy-bottomed saucepan (at least 4-quart capacity)
-
Wooden spoon or silicone spatula
-
Whisk
-
Fine-mesh strainer (optional)
-
Glass jar or airtight container for storage
Instructions
Step 1: Combine Ingredients (Time: 2 minutes | Intensity: Low)
Pour the whole milk into a heavy-bottomed saucepan. Add the granulated sugar and pinch of salt. Place the pan over medium-low heat and stir gently with a wooden spoon or silicone spatula until the sugar dissolves completely. This should take about 2–3 minutes. Do not let the mixture come to a rolling boil at this stage—you want the sugar fully integrated before the reduction begins.
Tip: Use a pan larger than you think you need. The milk will bubble up as it reduces, and a larger surface area helps evaporation.
Step 2: Bring to a Gentle Simmer (Time: 5 minutes | Intensity: Low-Medium)
Increase the heat slightly to medium and bring the mixture to a gentle simmer. Watch carefully—as soon as small bubbles begin to break the surface, reduce the heat to low. The goal is a steady, lazy simmer, not a vigorous boil. Stir occasionally to prevent scorching on the bottom.
Step 3: Reduce and Stir (Time: 40–50 minutes | Intensity: Low)
This is the patience phase. Maintain a low simmer and stir the mixture every 5–7 minutes, scraping the bottom and sides of the pan. As the water evaporates, the mixture will gradually thicken and take on a pale golden color.
Key milestones to watch for:
-
15 minutes: Mixture has reduced by about one-third; still quite liquid.
-
30 minutes: Noticeably thicker; coats the back of a spoon lightly.
-
40–45 minutes: Significantly thickened; a distinct line remains when you drag a spoon across the bottom of the pan.
-
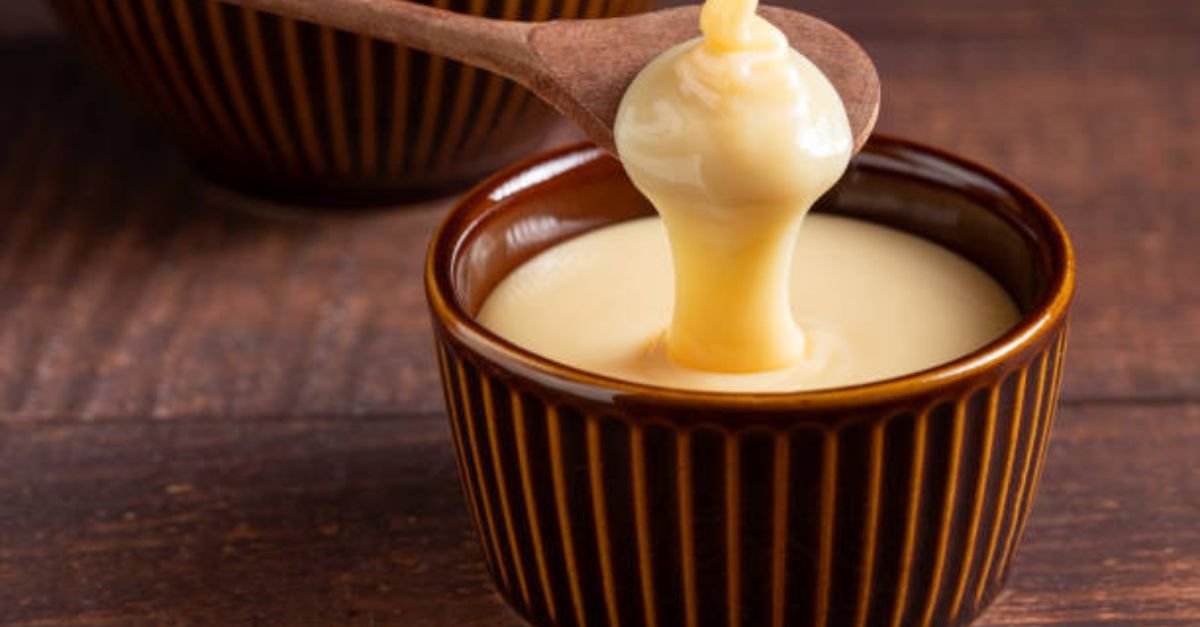
45–50 minutes: Ready when the mixture coats the back of a spoon and drips off slowly in a thick ribbon. It should be the consistency of warm honey.
Important: As the mixture thickens, stir more frequently—every 2–3 minutes—to prevent burning. If you see any dark brown spots forming on the bottom, reduce the heat immediately.
Step 4: Finish with Butter and Vanilla (Time: 2 minutes | Intensity: Low)
Remove the pan from the heat. Stir in the unsalted butter (if using) and vanilla extract. The butter adds richness and a silky mouthfeel, while the vanilla rounds out the flavor. Whisk until fully incorporated and smooth.
Step 5: Cool and Strain (Time: 15–20 minutes | Intensity: Low)
Let the mixture cool in the pan for 10 minutes, stirring occasionally to prevent a skin from forming. If you notice any tiny curdled bits or impurities, pour the mixture through a fine-mesh strainer into a clean glass jar or airtight container. The condensed milk will continue to thicken as it cools.
Step 6: Store (Time: 1 minute | Intensity: Low)
Seal the container and refrigerate. Homemade sweetened condensed milk will keep for up to 2 weeks in the refrigerator. For longer storage, freeze in ice cube trays or small portions for up to 3 months. Thaw overnight in the refrigerator before use.
Recipe Summary Table
| Phase | Time | Heat Intensity | Action |
|---|---|---|---|
| Combine | 2–3 min | Medium-low | Dissolve sugar in milk |
| Simmer | 5 min | Medium → Low | Bring to gentle simmer |
| Reduce | 40–50 min | Low | Stir every 5–7 min until thickened |
| Finish | 2 min | Off heat | Add butter and vanilla |
| Cool | 15–20 min | Room temp | Stir occasionally, strain if needed |
| Store | — | Refrigerated | Up to 2 weeks |
Total Active Time: ~15 minutes
Total Passive Time: ~45–60 minutes
Total Time: ~50–65 minutes
Nutrition Information
Per serving (2 tablespoons, based on 14 servings per batch)
| Nutrient | Amount |
|---|---|
| Calories | 130 kcal |
| Total Fat | 3.5 g |
| Saturated Fat | 2.2 g |
| Cholesterol | 10 mg |
| Sodium | 25 mg |
| Total Carbohydrates | 22 g |
| Sugars | 22 g |
| Protein | 2 g |
| Calcium | 70 mg |
| Potassium | 90 mg |