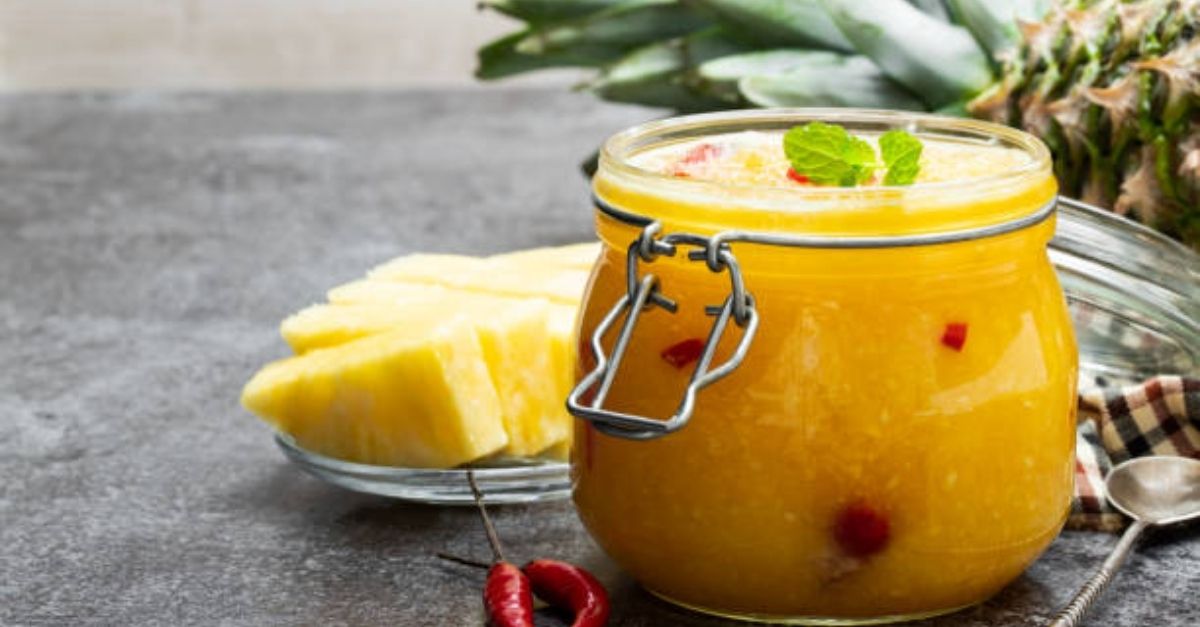
Prep Time: 25 Minutes (This includes deseeding peppers and juicing citrus. The intensity here is Low to Medium—focus on careful knife work).
Cook Time: 40 Minutes (The active boiling phase. The intensity is High; you must monitor the temperature closely and stir constantly to prevent scorching).
Processing Time (Water Bath): 10 Minutes (Intensity is Medium—handling hot jars requires focus and oven mitts).
Cooling/Setting Time: 12–24 Hours (Intensity is Very Low; this is the waiting game. Do not disturb the jars during this phase).
Total Time: Approx. 1 Hour 15 Minutes (Active) + Overnight Set.
Intensity Legend:
🔪 Low: Measuring, chopping, juicing.
🔥 Medium: Managing boiling liquid, sterilizing jars.
💀 High: The “Hard Ball” stage (rolling boil where the jelly hits 220°F/104°C). This is the critical moment where sugar transforms into a gel. Do not walk away.
Ingredients
Yields: Approximately 5 (8-ounce) half-pint jars.
3 cups crushed or finely chopped fresh pineapple (about 1 medium pineapple, cored and peeled)
1 ½ cups finely chopped bell peppers (mix of red and orange for color)
½ cup finely chopped hot chili peppers (e.g., Jalapeño for mild heat, or Habanero for intense heat)
1 cup finely chopped Granny Smith apple (peeled and cored) – This is our secret weapon for natural pectin.
1 ½ cups apple cider vinegar (5% acidity)
6 cups granulated white sugar (Do not reduce the sugar; it is essential for the gel structure).
2 tablespoons fresh lime juice (for acidity balance)
1 teaspoon butter or margarine (to reduce foaming, optional but recommended)
Step-by-Step Instructions
Phase 1: Mise en Place (The Prep)
Prepare the Peppers: Wearing gloves, cut the hot peppers in half and remove the seeds and white membranes (the pith) if you prefer a milder jelly. For maximum heat, keep the seeds. Dice the peppers into very small, uniform pieces (about ¼ inch). Place them in a large, heavy-bottomed stainless steel pot (6-8 quarts).
Prepare the Fruit: Add the crushed pineapple (including its natural juices), the finely diced Granny Smith apple, and the bell peppers to the pot.
Add Liquids: Pour in the apple cider vinegar and fresh lime juice. Stir to combine the fruit and vinegar mixture.
Sugar Prep: Measure the sugar into a separate bowl. Having it ready to pour quickly is vital later on.
Phase 2: The Extraction (Extracting Pectin)
Place the pot over medium-high heat. Bring the mixture to a rapid boil while stirring frequently.
Reduce the heat to medium and allow the mixture to simmer for 10 minutes. This softens the fruit and releases the natural pectin from the apple skins and seeds. You will notice the liquid beginning to thicken slightly.
Phase 3: The Boil (Reaching the Set Point)
Add Sugar: Increase the heat to high. Add the 6 cups of sugar all at once. Stir vigorously with a long-handled wooden spoon until the sugar is completely dissolved.
The Boil: Bring the mixture to a rolling boil—a boil that does not stop bubbling even when stirred.
Add Butter: Stir in the butter to help reduce the foam that forms on top.
The Timer: Continue boiling rapidly for exactly 15 to 20 minutes. This is the intense phase.
Testing for Doneness: Start checking the temperature at the 15-minute mark. Insert a candy thermometer into the jelly mixture (make sure it does not touch the bottom of the pan). You are aiming for the “Hard Ball” stage: 220°F (104°C) at sea level. If you do not have a thermometer, use the “Sheet Test”: Dip a cold metal spoon into the boiling jelly and lift it out. Turn the spoon sideways. If the jelly drips off in a single, heavy “sheet” rather than individual drops, it is ready.
Phase 4: Skim and Jar
Remove from Heat: Once the jelly reaches 220°F, remove the pot from the heat immediately.
Skim Foam: Use a large metal spoon to skim off any foam or floating pepper bits that have risen to the top. (Discard the foam; it won’t set properly).
Ladle: Carefully ladle the hot jelly into sterilized, hot half-pint jars, leaving a ¼-inch headspace (the space between the jelly and the lid). Wipe the rims of the jars with a damp paper towel to remove any sticky residue.
Cap: Place the sterilized lids on the jars and screw the bands on until fingertip-tight (do not over-tighten).
Phase 5: Water Bath Processing (For Shelf Stability)
Place the filled jars in a boiling water bath canner. Ensure the jars are covered by at least 1 to 2 inches of water.
Bring the water to a rolling boil and process the jars for 10 minutes (adjust for altitude if you live above 1,000 feet).
Turn off the heat, remove the lid of the canner, and let the jars rest in the water for 5 minutes. This prevents “siphoning” (the jelly leaking out of the jar).
Using jar lifters, remove the jars and place them on a towel-lined countertop. Leave them undisturbed for 12 to 24 hours.
The “Last of the Recipe” (The Troubleshooting & Wisdom Section)
Here is where we address the common pitfalls of jelly making. Many recipes end with the processing, but the real knowledge is what you do when things go wrong.
If the Jelly Didn’t Set (Too Runny)
The Problem: You pulled the pot off the heat too early, or you didn’t boil it long enough.
The Fix: You can remake the jelly. Within 48 hours, pour the runny jelly back into a pot. Add 2 tablespoons of lemon juice and 3 tablespoons of sugar. Bring it to a rolling boil again and cook until it reaches 222°F (a slightly higher temperature to compensate for the volume). Reprocess in clean jars.
If the Jelly is Too Stiff/Rubbery
The Problem: You overcooked it, causing too much water to evaporate.
The Fix: You can’t “un-set” jelly, but you can use it as a glaze. Melt a spoonful with a tablespoon of water to create a syrup for grilling meats. Don’t throw it away; it is an excellent flavor bomb for pan sauces.
The Floating Peppers Issue
The Problem: All the beautiful chunks of pepper sit at the top of the jar, leaving clear jelly on the bottom.
The Fix: This is normal in many recipes! To minimize this, let the jelly sit in the pot for about 3 minutes before ladling it into jars. Stir it gently to suspend the fruit, then quickly jar it up. Alternatively, just turn the jar over once it is cold to distribute the fruit again.
Shelf Life & Storage
Unopened: Stored in a cool, dark pantry, this jelly will last for 1 year.
Opened: Once opened, store it in the refrigerator. It will keep for 3 months.
Freezing: You can freeze this jelly in plastic containers (without processing) for up to 6 months. Just remember to leave 1 inch of headspace for expansion.
Nutrition Facts
Please note: Nutritional information is an estimate based on a 1-tablespoon serving size. This is a high-sugar preserve, so moderation is key.
Nutrient Amount Per Serving (1 Tbsp / 20g)
Calories 52 kcal
Total Fat 0.1 g
– Saturated Fat 0 g
– Trans Fat 0 g
Cholesterol 0 mg
Sodium 1 mg
Total Carbohydrates 13.2 g
– Dietary Fiber 0.2 g
– Sugars 12.8 g
Protein 0.1 g
Vitamin C 8% DV
Vitamin A 2% DV
Calcium 1% DV
Iron 1% DV