-
Prep Time: 3 Minutes
-
Cook Time: 1 Minute 30 Seconds
-
Total Time: 4 Minutes 30 Seconds
-
Intensity Level: Beginner
-
Yield: 1 Serving (1 large mug)
Ingredients
For the Cake:
-
1 scoop (approx. 30g) Chocolate Whey/Casein Blend Protein Powder (or vanilla if you prefer)
-
1 tbsp Coconut Flour
-
1 tbsp Unsweetened Cocoa Powder (Dutch-processed for richer flavor)
-
1/2 tsp Baking Powder
-
1 pinch Sea Salt
-
1 large Egg (room temperature)
-
2 tbsp Unsweetened Almond Milk (or water)
-
1 tbsp Melted Coconut Oil or Butter (unsalted)
-
1-2 packets Stevia/Erythritol blend (adjust to taste)
Optional Add-ins:
-
1 tbsp Sugar-Free Chocolate Chips
-
1/2 tsp Vanilla Extract
Step-by-Step Instructions
1. Prep the Mug
Take a standard 12-ounce microwave-safe mug. Spray it lightly with non-stick cooking spray or rub a tiny bit of butter around the inside to ensure your cake doesn’t stick to the sides. Pro Tip: The wider the mug, the more evenly it cooks. If your mug is too narrow, the center may stay gooey while the edges overcook.
2. Combine Dry Ingredients
In the mug, combine the chocolate protein powder, coconut flour, cocoa powder, baking powder, and sea salt. Whisk them together with a small fork. It is imperative to break up any clumps of coconut flour or cocoa powder now; we don’t want pockets of dry powder ruining our bite.
3. Add Wet Ingredients
Crack the egg into the mug. Add the almond milk, melted coconut oil, and your sweetener of choice. If you are using vanilla extract or sugar-free chocolate chips, toss them in now.
4. Mix Vigorously
This is the most critical step. Mix the ingredients together with your fork for at least 45 seconds. You need to ensure the egg is fully incorporated and the batter is smooth. The batter should be thick—thicker than traditional cake batter, almost like a brownie batter. If it looks too dry (it shouldn’t if you used a scale), add a splash more almond milk.
5. Microwave Time
Place the mug in the center of the microwave. Microwave on High (100% power) for 60 seconds. Do not walk away. Watch the cake.
6. Check and Finish
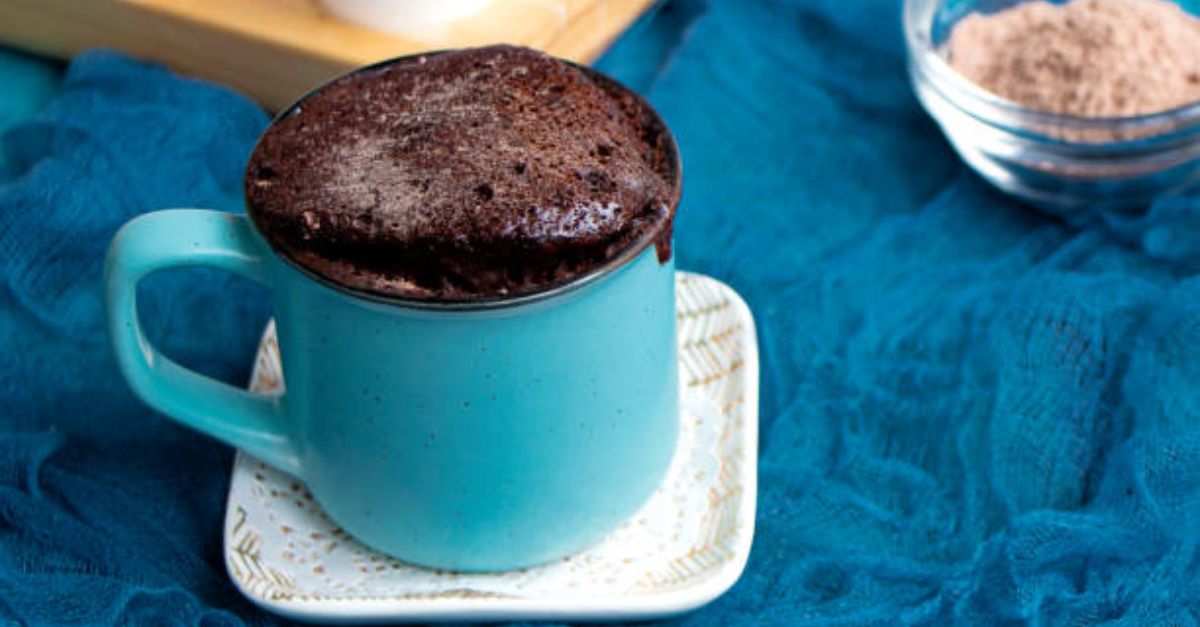
After 60 seconds, check the cake. It should have risen significantly and should look set on the edges but slightly shiny and jiggly in the center. (This is the “brownie” effect we want.) If it is still liquid, cook in 10-second increments. For my 1200-watt microwave, 1 minute and 30 seconds is the sweet spot.
Note: The cake will continue to cook and set as it cools. Do not overcook it, or it will become rubbery and dry!
7. Rest and Invert
Let the mug sit for 1 minute. This allows the structure to firm up. You can eat it right out of the mug with a spoon, or if you want to look fancy, run a butter knife around the edge and invert it onto a plate.
The Final Touch: Toppings & Variations
While this cake is phenomenal on its own, the toppings are where you can really play.
-
The Classic: Top with 1 tablespoon of sugar-free whipped cream and a sprinkle of cinnamon.
-
The Peanut Butter Lover: Stir 1 tablespoon of powdered peanut butter (PB2) into the batter with an extra splash of water.
-
The Morning Fuel: Top with 2 tablespoons of plain Greek yogurt and a few fresh raspberries for a breakfast that rivals any pastry.
Nutrition Information
Please note that this is an approximation and can vary based on the specific brand of protein powder and almond milk used.
| Nutrient | Amount Per Serving |
|---|---|
| Calories | 245 kcal |
| Total Fat | 14g |
| Saturated Fat | 9g |
| Carbohydrates | 8g (Net Carbs) |
| Total Carbs | 14g |
| Dietary Fiber | 6g |
| Sugars | 2g (naturally occurring) |
| Protein | 25g |
| Cholesterol | 195mg |
| Sodium | 450mg |