Detail Information
Recipe Name Bob’s Red Mill Artisan No-Knead Bread
Prep Time 10 minutes (active)
Rest/Rise Time 12–18 hours (inactive)
Second Rise 2 hours
Bake Time 45 minutes
Total Time ~15 hours (mostly hands-off)
Yield 1 large loaf (approx. 10 slices)
Difficulty Easy (but requires patience)
Intensity Levels (1–5 scale)
Category Intensity Notes
Physical Effort 1/5 No kneading! Just stirring with a wooden spoon.
Skill Level 2/5 The only tricky part is the hot Dutch oven.
Waiting Tolerance 4/5 You need discipline to let it rest 12+ hours.
Cleanup Effort 2/5 One bowl, one spoon, one pot.
Satisfaction Reward 5/5 The sound of that first crust crack is priceless.
Ingredients
3 cups (390g) Bob’s Red Mill Artisan Bread Flour (spooned and leveled – do not scoop directly)
1 ½ teaspoons (9g) fine sea salt (or kosher salt)
½ teaspoon (2g) instant yeast (or active dry yeast – no need to proof)
1 ½ cups (360ml) warm water (about 105°F–110°F / 40°C–43°C)
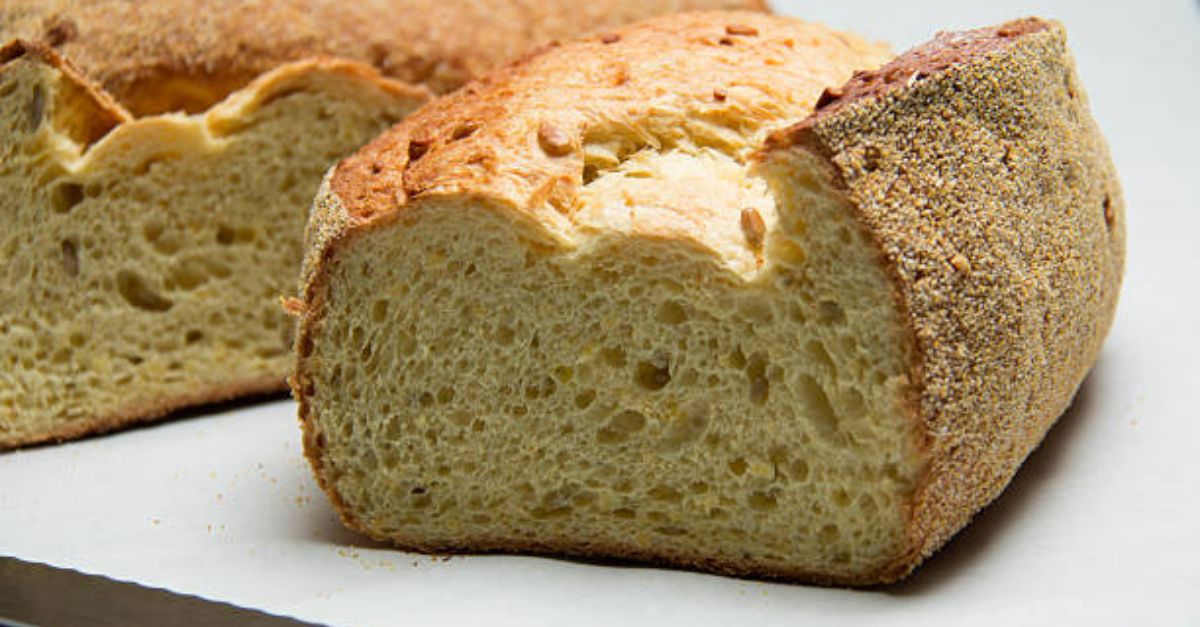
Why Bob’s Red Mill Artisan Flour? This flour has a protein content of around 12-13%, which creates more gluten than all-purpose flour. That extra strength traps the gas from the long fermentation, giving you those large, irregular holes (the signature of artisan bread).
Special Equipment
A large mixing bowl (glass or ceramic is best)
Wooden spoon or dough whisk
Plastic wrap or a clean shower cap
A 4–6 quart Dutch oven (cast iron, enameled, or stainless steel with a lid)
Parchment paper (optional but highly recommended)
Kitchen scale (for best results)
Method
Step 1: Mix the Dough (5 minutes – Intensity: Very Low)
In your large mixing bowl, whisk together the Bob’s Red Mill Artisan Bread Flour, salt, and instant yeast. Make sure the salt and yeast are not directly touching each other at this stage (salt can slow down yeast if concentrated).
Pour in the warm water. Use your wooden spoon to stir everything together until you have a shaggy, sticky, ragged ball of dough. There should be no dry flour left in the bottom of the bowl. The dough will look messy—that is exactly what you want.
Do not knead. Seriously. Put the spoon down.
Step 2: First Fermentation (12–18 hours – Intensity: None)
Cover the bowl tightly with plastic wrap or a reusable cover. Leave it on your kitchen counter at room temperature (ideally 65°F–72°F / 18°C–22°C).
Let time do the work. Over the next 12 to 18 hours, the dough will bubble, expand, and develop long gluten strands without you lifting a finger.
At 8 hours: You will see small bubbles on the surface.
At 12 hours: The dough should be dotted with bubbles and have doubled in size.
At 18 hours: It will look very puffy and have a yeasty, slightly sour aroma.
Tip: If your kitchen is cold (below 65°F), the full 18 hours is better. If it is warm (above 75°F), check at 10 hours.
Step 3: Shape the Dough (5 minutes – Intensity: Low)
Scrape the sticky dough out onto a well-floured work surface. The dough will be wet—resist adding too much extra flour. Using a bench scraper or floured hands, gently fold the edges of the dough toward the center four or five times to form a rough ball.
Do not punch it down. You want to keep those precious gas bubbles.
Flip the ball over so the smooth side faces up. Gently rotate the dough with your hands to create surface tension. It will not be perfect—a rustic, irregular shape is part of the charm.
Step 4: Second Rise (2 hours – Intensity: None)
Line a medium bowl with a clean, floured kitchen towel (or use a proofing basket). Place the shaped dough seam-side down into the bowl. Dust the top with a little more flour. Cover with another towel and let it rest for 2 hours.
In the last 30 minutes of this rise, place your Dutch oven (with its lid on) into your oven and preheat to 450°F (230°C). The pot needs to become screaming hot for the perfect crust.
Step 5: Bake (45 minutes – Intensity: Moderate – Oven Heat)
Carefully remove the hot Dutch oven from the oven (use heavy oven mitts). This step is the only “high intensity” moment of the whole recipe—the pot is extremely hot.
Gently invert the risen dough from the towel onto a piece of parchment paper. Score the top with a sharp knife or lame (one long slash, about ½ inch deep). The score allows the bread to expand without bursting.
Lift the parchment paper and lower the dough into the hot Dutch oven. Put the lid on and return the pot to the oven.
Bake covered for 30 minutes – this traps steam, creating a crispy, shiny crust.
Remove the lid and bake for another 15 minutes – this deepens the color and makes the crust crackle.
Step 6: Cool (Non-negotiable – 1 hour)
Transfer the finished loaf to a wire rack. The bread will feel firm and sound hollow when tapped on the bottom.
Here is the hardest part of the recipe: Let it cool for at least 1 hour before slicing. If you cut into it while warm, the interior will be gummy and undercooked. Patience rewards you with a clean slice and perfect texture.
Nutrition Information (per slice, based on 10 slices)
Nutrient Amount
Calories 170 kcal
Protein 6g
Total Fat 0.5g
Saturated Fat 0g
Carbohydrates 34g
Dietary Fiber 1g
Total Sugars 0g
Sodium 350mg
Potassium 55mg
Iron 1.5mg (8% DV)