Prep time: 15 minutes
Cook time: 0 minutes (No-churn!)
Freeze time: 6-8 hours (or overnight)
Total time: 6 hours 15 minutes (plus freezing)
Yield: 8 servings (about 1 quart)
Cuisine: American, Keto, Low-Carb, Gluten-Free
Dietary: Vegetarian, Keto, Low-Carb
Description
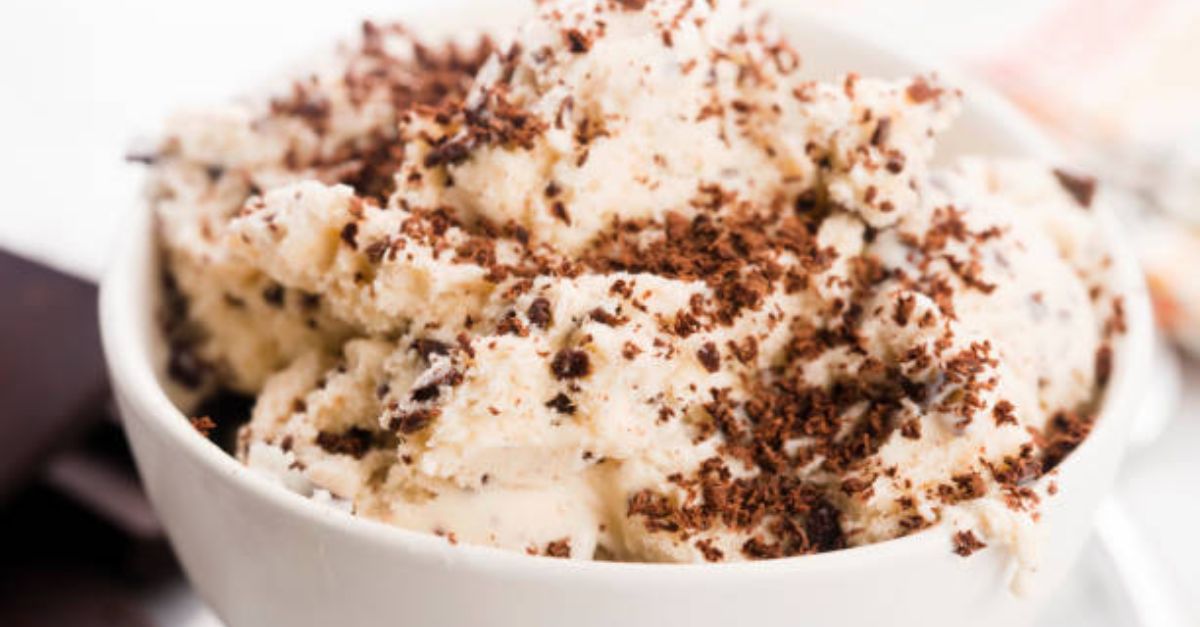
Craving a creamy, dreamy frozen treat that won’t kick you out of ketosis? Look no further. This Keto Chocolate Chip Ice Cream is so rich and decadent, you won’t believe it’s completely sugar-free and low-carb. We’re using a base of heavy cream and cream cheese to achieve that classic, dense, scoopable ice cream texture without the need for an ice cream maker. Studded with slivers of dark, sugar-free chocolate, every spoonful is a cool, satisfying delight. Whether you follow a strict keto diet or just want a healthier dessert option, this recipe is about to become your new favorite.
Why You’ll Love This Recipe
No Ice Cream Maker Required: We’re using a simple no-churn method that relies on whipped cream for a light, airy texture.
Perfect Keto Macros: Satisfy your sweet tooth while staying on track with your health goals.
Incredibly Creamy: The combination of heavy cream and cream cheese prevents the ice crystals that often plague low-carb frozen desserts.
Customizable: Easily swap the chocolate chips for nuts, sugar-free caramel swirls, or berries.
Ingredients
For the Ice Cream Base:
2 cups (480 ml) Heavy Whipping Cream (very cold)
4 oz (112 g) Full-Fat Cream Cheese (softened to room temperature)
½ cup (120 ml) ** powdered Allulose** (or your favorite powdered keto confectioners sugar substitute)
1 tsp Pure Vanilla Extract
Pinch of Sea Salt
For the Chocolate Chips:
3 oz (85 g) Sugar-Free Dark Chocolate Chips (such as Lily’s or ChocZero)
1 tsp Coconut Oil (optional, helps the chocolate stay a bit softer when frozen)
Special Equipment
Large mixing bowl
Medium mixing bowl
Hand mixer or stand mixer with whisk attachment
Rubber spatula
9×5 inch Loaf pan (or any freezer-safe container with a lid)
Parchment paper (optional, for easy removal)
Instructions
Step 1: Prep the Chocolate Ribbon
In a small, microwave-safe bowl, combine the sugar-free chocolate chips and coconut oil (if using).
Microwave in 20-second intervals, stirring in between, until the chocolate is completely smooth and melted. Set it aside to cool to room temperature. It should be liquid but not warm to the touch, so it doesn’t melt the ice cream base later.
Step 2: Whip the Cream Cheese Base
In a large mixing bowl, place the softened cream cheese. Using a hand mixer or stand mixer, beat the cream cheese on medium speed until it is completely smooth, with no lumps.
Add the powdered allulose, vanilla extract, and sea salt to the cream cheese. Beat again until the mixture is well combined, light, and fluffy. Scrape down the sides of the bowl with a spatula.
Step 3: Whip the Cream
In a separate medium mixing bowl (or the stand mixer bowl if you transferred the cream cheese), pour in the very cold heavy whipping cream.
Using the whisk attachment, beat the cream on medium-high speed until stiff peaks form. This means when you lift the whisk, the cream stands straight up without flopping over. Be careful not to over-whip, or you’ll end up with butter!
Step 4: Combine the Mixtures
Take a generous dollop of the whipped cream and fold it into the cream cheese mixture to lighten it up. This makes it easier to combine the two mixtures without deflating all the air.
Pour the lightened cream cheese mixture into the bowl with the rest of the whipped cream.
Using a rubber spatula, gently fold the mixtures together. Use a cutting motion, scraping down the sides and bottom, until no white streaks of cream cheese remain. The mixture should be uniform and airy.
Step 5: Create the Chocolate Chips
Check that your melted chocolate has cooled to room temperature. It should still be liquid.
Pour the melted chocolate into the ice cream mixture in a thin, steady stream while simultaneously folding the mixture with your spatula. Do not over-mix!
The goal is to have the chocolate seize up upon contact with the cold cream and break into small, delightful shards and chips distributed throughout the base. Stop folding as soon as the chocolate is mostly incorporated into small pieces. A few larger chunks are a good thing!
Step 6: Freeze
Line your loaf pan with a strip of parchment paper (this makes it easy to lift the ice cream out for serving). Spoon the ice cream mixture into the pan and spread it into an even layer.
Press a piece of plastic wrap directly onto the surface of the ice cream to prevent ice crystals from forming.
Place the pan in the freezer and freeze for at least 6-8 hours, or until completely firm. For best results, freeze overnight.
How to Serve
To get the perfect scoop, remove the ice cream from the freezer and let it sit on the counter for 5-10 minutes to soften slightly. Scoop into bowls or keto-friendly cones and enjoy!
Storage
Store any leftover ice cream in an airtight container in the freezer for up to 2-3 weeks. The texture will be best within the first week.
Nutrition Information
Please note: This is an estimate calculated using standard ingredients and a powdered allulose-based sweetener. Actual values may vary depending on the specific brands of ingredients you use, especially the sugar-free chocolate chips.
Serving Size: 1/2 cup (approx.)
Calories: 380
Fat: 38g
Carbohydrates: 5g (Net Carbs: 3g)
Fiber: 2g
Protein: 4g