Prep Time: 30 minutes | Freeze Time: 6 hours (or overnight) | Total Time: 6 hours 30 minutes
Difficulty: Easy
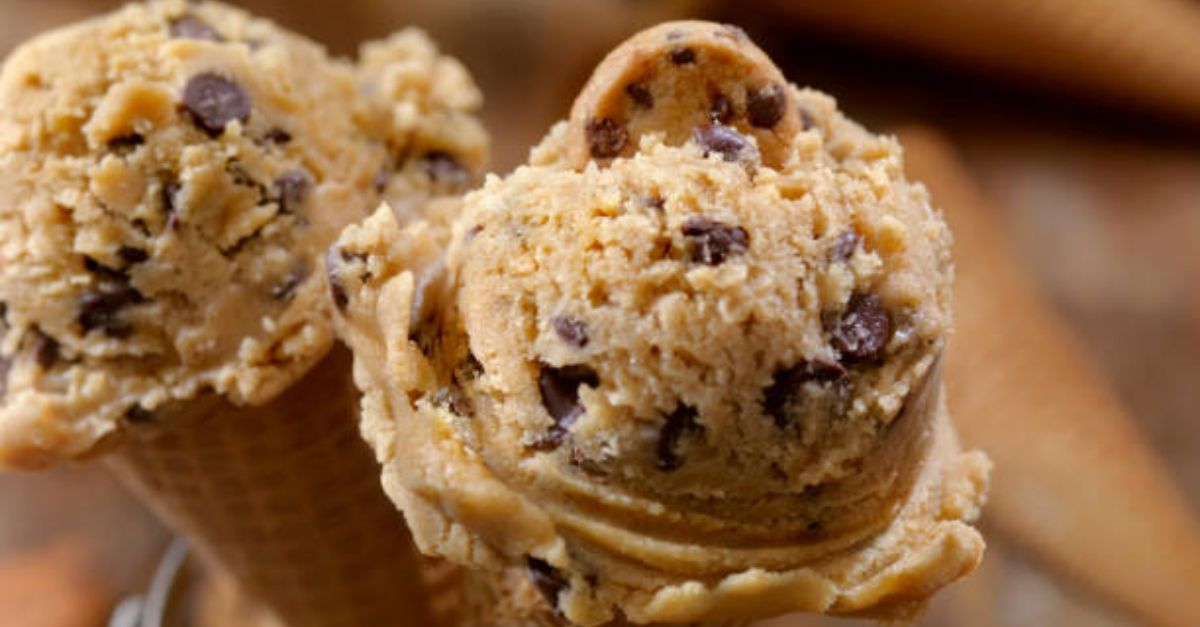
There are two kinds of people in this world: those who pick the ice cream based on the flavor, and those who pick it based on the mix-ins. If you fall into the latter category, specifically the cookie dough camp, then this recipe is your holy grail.
This isn’t just vanilla ice cream with a few sad specks of dough. This is a ridiculously creamy, no-churn base that serves as a blank canvas for generous, buttery chunks of brown sugar cookie dough and a full load of semisweet chocolate chips. Every single bite delivers that perfect contrast of smooth, frozen cream against the soft, sweet dough and the firm snap of chocolate. The best part? The cookie dough is completely egg-free and safe to eat raw, so you can snack on it while you build your masterpiece.
Let’s get churning (or, you know, whisking)!
Why You’ll Love This Recipe
No Ice Cream Maker Required: We’re using the classic no-churn method of sweetened condensed milk and whipped cream. It’s foolproof and yields an incredibly rich and creamy texture.
Safe-to-Eat Cookie Dough: This dough is made without eggs and the flour is heat-treated, so you can indulge in those raw-dough chunks without a single worry.
Maximum “Loaded” Factor: We’re not skimping. We add cookie dough chunks AND chocolate chips to the base, then swirl even more on top before freezing. Every scoop is packed with goodness.
Better Than Store-Bought: Once you realize how easy and delicious homemade ice cream is, you’ll never go back. You control the quality of ingredients and, most importantly, the quantity of cookie dough.
Ingredients
For the Safe-to-Eat Cookie Dough:
¾ cup (95g) all-purpose flour
¼ tsp salt
5 tbsp (70g) unsalted butter, softened
⅓ cup (65g) packed light brown sugar
1 tbsp granulated sugar
½ tsp vanilla extract
1 tbsp milk (any kind)
⅓ cup (55g) mini semisweet chocolate chips (mini chips distribute better in the dough)
For the No-Churn Ice Cream Base:
2 cups (480ml) heavy whipping cream, cold
1 can (14 oz / 397g) sweetened condensed milk
1 tsp vanilla extract
Pinch of salt
EXTRA: ½ cup (85g) regular semisweet chocolate chips (for loading into the ice cream)
Instructions
Part 1: Make the Cookie Dough (The Best Part)
This step is crucial. We need to make the dough first so it can chill and firm up, making it easier to cut into chunks later.
Heat-Treat the Flour: Place the ¾ cup of flour in a microwave-safe bowl. Microwave in 30-second intervals, stirring thoroughly in between, until the flour reaches 165°F (74°C) on an instant-read thermometer. This usually takes about 1 minute total. Alternatively, you can spread it on a baking sheet and toast in a 300°F (150°C) oven for 5-7 minutes. Let the flour cool completely before using.
Mix Wet Ingredients: In a medium bowl, use a hand mixer or a sturdy spoon to cream together the softened butter, brown sugar, and granulated sugar until light and fluffy. Beat in the vanilla extract and milk until combined.
Combine Dry Ingredients: Whisk the cooled flour and ¼ tsp salt together. Gradually add the dry ingredients to the wet ingredients, mixing until a soft dough forms. Do not overmix.
Add Chocolate: Fold in the ⅓ cup of mini chocolate chips.
Chill: Form the dough into a disc, wrap it tightly in plastic wrap, and refrigerate for at least 1 hour. This makes it firm enough to chop. While it chills, you can start the ice cream base.
Part 2: Make the No-Churn Ice Cream Base
Whip the Cream: In a large mixing bowl, pour the cold heavy cream. Using an electric hand mixer or a stand mixer fitted with the whisk attachment, whip the cream on medium-high speed until stiff peaks form. You’ll know it’s ready when you lift the beaters and the cream stands up in peaks without flopping over. Be careful not to over-whip, or you’ll end up with butter!
Combine Base Ingredients: In a separate, smaller bowl, stir together the sweetened condensed milk, 1 tsp vanilla extract, and a pinch of salt.
Fold Together: Pour the sweetened condensed milk mixture into the bowl with the whipped cream. Using a rubber spatula, gently fold the two together. Start from the bottom and bring the spatula up and over, turning the bowl as you go. Fold just until no white streaks remain and the mixture is uniform. It will be thick and airy.
Part 3: Assemble and Load
Prep the Dough: Take your chilled cookie dough out of the fridge. Using a sharp knife, cut the disc into small, bite-sized chunks. Some will be bigger, some will crumble into smaller bits—this is perfect! You want a variety of textures.
First Layer: Pour about one-third of the ice cream base into a 9×5-inch loaf pan (or a similar sized freezer-safe container with a lid). Spread it into an even layer.
First Load: Sprinkle half of your cookie dough chunks and half of the regular (½ cup) chocolate chips evenly over the first layer of ice cream.
Second Layer: Gently pour another third of the ice cream base over the mix-ins. Use a spatula to gently swirl it around—you want to slightly marble the layers, not completely submerge the first load of chunks.
Second Load: Sprinkle the remaining cookie dough chunks and the remaining regular chocolate chips over the second layer.
Top Layer: Finish by spreading the last third of the ice cream base over the top. Use your spatula to create a nice, even surface. If you want a pretty top, you can press a few extra cookie dough chunks and chocolate chips right onto the surface for decoration.
The Swirl: For good measure, take a butter knife and gently run it through the ice cream in an “S” shaped pattern a few times. This helps create those beautiful ribbons of mix-ins throughout.
Part 4: The Hardest Part (Waiting!)
Cover and Freeze: Press a piece of plastic wrap directly onto the surface of the ice cream (this prevents ice crystals from forming). Then, snap on the lid or cover the pan tightly with foil.
Freeze for 6+ Hours: Place the pan in the coldest part of your freezer and freeze for at least 6 hours, but preferably overnight. This allows the ice cream to become completely firm and scoopable.
Serve and Enjoy: Remove from the freezer about 5-10 minutes before scooping to let it soften slightly. Scoop into bowls or cones and prepare for the best cookie dough experience of your life.
Storage
Store any leftover ice cream in an airtight container in the freezer for up to 2 weeks. To maintain the best creamy texture, press a new piece of plastic wrap onto the surface before sealing the lid each time.
Nutritional Information
(Approximate, per ½ cup serving, based on 10 servings)
Nutrient Amount
Calories 415 kcal
Fat 25g
Carbohydrates 44g
Protein 6g
Sugar 38g
Sodium 135mg
Cholesterol 85mg