Prep Time: 10 minutes
Cook Time: 8 minutes
Total Time: 18 minutes (plus 10 minutes cooling)
Yield: 12-14 balls
Category: Snack
Method: Air Fryer
Cuisine: Healthy
Dietary Notes: Gluten-Free (use certified GF oats), Vegetarian
Skill Level: Easy
Intensity: Low Effort – This is a simple mix, roll, and air fry recipe with minimal cleanup. No special skills required.
Ingredients
-
1 cup (100g) old-fashioned rolled oats (use certified gluten-free if needed)
-
½ cup (60g) vanilla or chocolate protein powder (whey, plant-based, or collagen)
-
⅓ cup (85g) creamy natural peanut butter or almond butter (drippy is best)
-
¼ cup (85g) pure maple syrup or honey
-
1 tablespoon chia seeds or ground flaxseed
-
1 teaspoon pure vanilla extract
-
A pinch of sea salt
-
Optional Add-ins: 2 tablespoons mini chocolate chips, chopped nuts, or dried fruit.
Equipment Needed
-
Medium mixing bowl
-
Spoon or spatula
-
Baking sheet or plate
-
Parchment paper
-
Air Fryer
Step-by-Step Instructions
Step 1: Mix the Dough
In a medium bowl, combine the rolled oats, protein powder, chia seeds, and a pinch of salt. Stir to distribute evenly. Add the peanut butter, maple syrup, and vanilla extract. Stir vigorously until a thick, cohesive dough forms. If the mixture seems too dry, add a teaspoon of water or milk. If it’s too wet, add a few more oats. Fold in any optional add-ins like chocolate chips.
Step 2: Roll into Balls
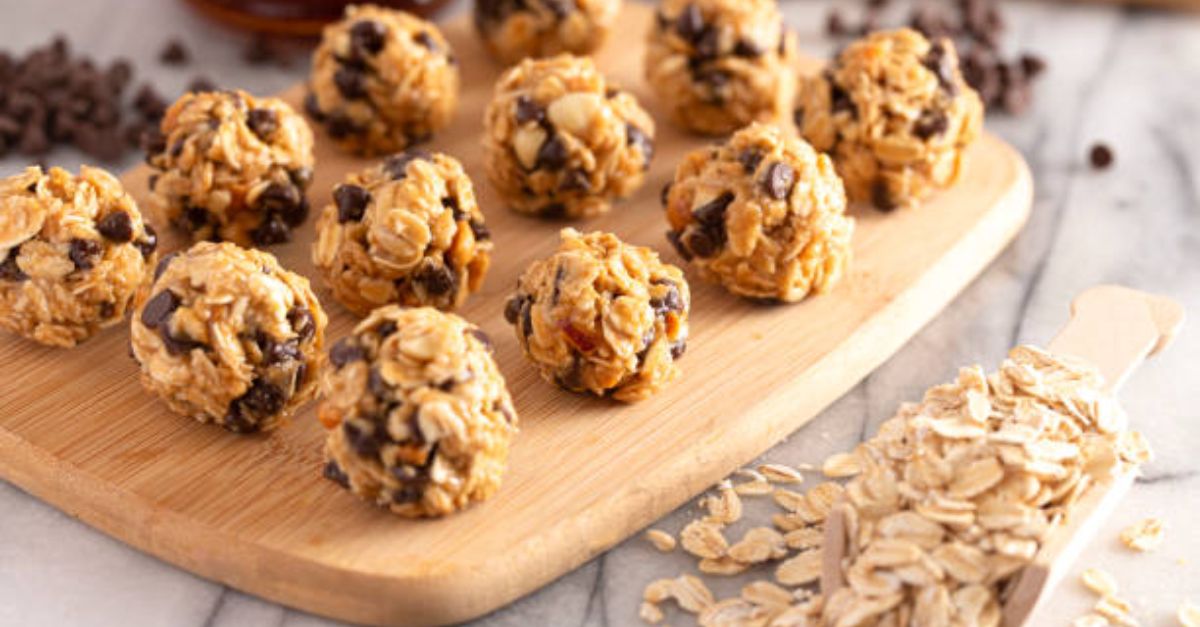
Line a plate or baking sheet with parchment paper. Using your hands, scoop out about 1½ tablespoons of dough. Roll firmly between your palms to form a tight, smooth ball, about 1 inch in diameter. Place on the prepared parchment. Repeat with the remaining dough. You should get 12-14 balls.
Step 3: Air Fry to Perfection
Preheat your air fryer to 320°F (160°C) for 2-3 minutes, if your model requires it.
Arrange the protein balls in the air fryer basket in a single layer, ensuring they are not touching. You will likely need to cook in batches.
Air fry for 6-8 minutes, shaking the basket gently at the halfway mark, until the balls are firm to the touch and have a lightly golden, crisp exterior.
Step 4: Cool and Set
Immediately transfer the cooked protein balls to a wire rack or a clean plate. They will be soft when hot but will firm up significantly as they cool. Allow them to cool completely for at least 10 minutes before eating. This cooling time is crucial for the perfect texture.
Recipe Notes & Tips for Success
-
Binding Agent: The peanut butter and syrup are the key binders. If your dough isn’t sticking together, add more peanut butter one teaspoon at a time.
-
Protein Powder Note: Different powders absorb liquid differently. If using a very absorbent powder (like casein), you may need an extra splash of milk or water.
-
No Air Fryer? You can enjoy these as classic no-bake balls! Simply roll and refrigerate for 1 hour to set. For a baked version, try 10-12 minutes in a 350°F (175°C) oven.
-
Storage: Store cooled protein balls in an airtight container in the refrigerator for up to 1 week. For longer storage, freeze for up to 3 months. Thaw at room temperature or enjoy straight from the freezer for a firmer treat.
Nutritional Information
Nutrition information is an estimate calculated for 1 ball (recipe makes 14), using vanilla whey protein powder and peanut butter without chocolate chips.
| Nutrient | Amount Per Serving |
|---|---|
| Calories | ~115 kcal |
| Total Fat | 5g |
| Saturated Fat | 1g |
| Carbohydrates | 11g |
| Dietary Fiber | 1.5g |
| Sugars | 5g |
| Protein | 7g |
| Sodium | 55mg |