| Element | Duration | Notes |
|---|---|---|
| Prep Time | 15-20 minutes | Filling jars, preparing canner |
| Canner Venting | 10 minutes | Allow steam to vent before sealing |
| Heat/Pressure Build | 20-45 minutes | Varies by canner and stove |
| Processing Time | 0 minutes | Heat is turned off immediately upon reaching pressure |
| Cool-Down | 1-2 hours | Must cool completely before opening |
| Total Time | ~2-3 hours |
Intensity Level: Moderate (requires careful pressure monitoring)
Instructions
-
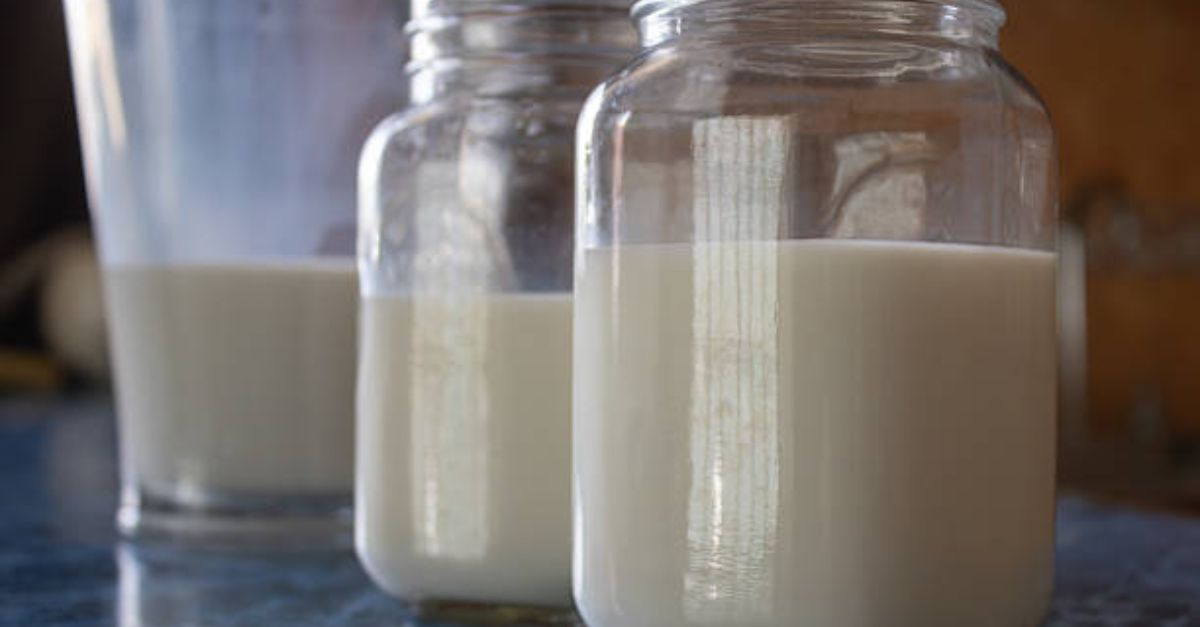
Prepare your jars: Wash jars, lids, and rings in hot soapy water. Rinse well. Fill each jar with cold milk, leaving ½ to 1 inch of headspace at the top .
-
Wipe the rims: Clean the rim of each jar thoroughly with a clean, damp cloth. (Do NOT use vinegar—it will curdle any milk that contacts the rim) .
-
Apply lids and rings: Place new lids on each jar and screw on rings until fingertip-tight—not too loose, but not cranked down.
-
Prepare the canner: Place the rack in the bottom of your pressure canner. Add about 2.5 inches of water (roughly 3 quarts for most canners) .
-
Place jars in the canner: Put your filled jars on the rack. The water should come about halfway up the sides of the jars.
-
Start the heat: Close the canner lid and turn the heat to high. Do NOT place the weight on the vent yet—leave it open to allow steam to escape.
-
Vent the canner: Watch the vent pipe. Once steam starts flowing steadily, set a timer for 10 minutes and let the canner vent .
-
Seal and pressurize: After 10 minutes of venting, place the weight on the vent. When the canner reaches 5-10 psi (depending on your altitude and recipe version), immediately turn off the heat .
Altitude adjustment: Some sources recommend 10-11 psi at sea level; others suggest 5 psi is sufficient. There is no standardized guidance .
-
Natural cool-down: Let the canner cool completely until the pressure gauge reads zero. Do not force-cool the canner—this can cause siphoning and seal failure. This typically takes 1-2 hours .
-
Remove jars: Carefully remove the jars and place them on a towel. Leave them undisturbed for 24 hours to allow the seals to set fully .
-
Check seals: After 24 hours, check that all lids have sealed (they should not flex when pressed). Remove the rings, wash the jars, label with the date, and store.
Notes on Flavor and Use
Milk canned this way will change significantly. The natural milk sugars caramelize during processing, giving the milk a slightly sweet, “cooked” flavor that many find unpalatable for drinking straight . The fat will separate—shake well before using .
Recommended uses: Cooking, baking, hot cocoa, soups, and recipes where the cooked flavor won’t be objectionable. Not recommended for drinking, cereal, or delicate recipes where flavor quality matters .
Nutrition Information
This recipe is based on canned milk that has been home-processed using the rebel method described above. For reference, the nutritional profile of commercially evaporated whole milk (per 100g) is as follows :
| Nutrient | Per 100g |
|---|---|
| Calories | 135 kcal |
| Protein | 6.81 g |
| Total Fat | 7.56 g |
| Carbohydrates | 10.04 g |
| Sugars | 10.04 g |
| Calcium | 261 mg |
| Sodium | 106 mg |
| Potassium | 303 mg |