Prep Time: 15 minutes
Cook Time: 15 minutes
Chilling Time: 2 hours (minimum)
Total Time: 2 hours 30 minutes
Yield: Approximately 2 cups (500 ml)
Intensity Level: Medium. This recipe is straightforward but requires your full attention and a gentle hand, especially during the cooking process. It involves a gentle, continuous stirring to prevent the eggs from scrambling. There’s no fancy equipment needed, but it does require patience and careful heat control.
Ingredients
1/2 cup (125 ml) fresh lemon juice (from about 3-4 large lemons)
1 tablespoon lemon zest (from about 2-3 large lemons, ensure you only zest the yellow part, avoiding the bitter white pith)
1 cup (200 g) granulated sugar
4 large egg yolks (room temperature is best)
1 whole large egg (room temperature)
1/4 teaspoon fine sea salt
1/2 cup (115 g) unsalted butter, cold, cut into small cubes
Instructions
Step 1: Prepare and Zest the Lemons
Start by washing your lemons thoroughly. Use a fine microplane or zester to grate the bright yellow outer layer of the skin. Be careful to stop once you hit the white pith, as it is quite bitter and will negatively impact the flavor of your curd. Set the zest aside.
Now, juice the lemons. Strain the juice through a fine-mesh sieve to remove any seeds and pulp. This ensures a silky-smooth final texture.
Step 2: Whisk the Sugar, Zest, and Eggs
In a medium, heavy-bottomed saucepan (not aluminum, as it can react with the acid and create a metallic taste), combine the granulated sugar and the fresh lemon zest. Use your fingertips to rub the zest into the sugar for a minute or two. This essential step releases the fragrant lemon oils from the zest, infusing the sugar and giving your curd an extra layer of vibrant flavor.
Add the egg yolks, the whole egg, and the salt to the sugar-zest mixture. Whisk everything together vigorously until the mixture is smooth, well-combined, and has lightened in color to a pale yellow. It will be thick and pasty at this stage, which is exactly what you want.
Step 3: Combine and Cook the Base
Slowly pour the strained lemon juice into the egg mixture while whisking constantly. Whisk until the mixture is completely smooth and homogenous; the sugar should have mostly dissolved.
Place the saucepan over medium-low heat. This is a key step: you want to heat the mixture gently to ensure the eggs don’t scramble. Start whisking the mixture constantly with a spatula or a whisk. As the mixture heats, you’ll notice it begins to thicken.
Step 4: The “Nappe” Stage (The Key to Perfect Texture)
This is the most critical part of the process. Continue to whisk the mixture constantly and thoroughly. Do not step away! The heat needs to be consistent but not too high. You are looking to cook the eggs to the point where they thicken the mixture without turning into scrambled eggs. It should take about 8–12 minutes on medium-low heat.
The curd is ready when it has visibly thickened and coats the back of a spoon. To test this, dip a wooden spoon into the curd and draw a line across the back of the spoon with your finger. If the line holds its shape and the curd does not run down to fill the gap, it has reached the perfect consistency known in French cuisine as “nappe.” Another test is using an instant-read thermometer: the curd is done when it reaches 170°F (76°C) . At this point, it will release a slight “puff” of steam, and the surface will be smooth and glossy.
Important Note: If you see any small lumps forming, immediately remove the pan from the heat and whisk vigorously to smooth it out. If you think the heat is too high or the mixture is cooking too quickly, remove it from the heat for a moment while you continue whisking to cool it down slightly before returning it to the heat.
Step 5: Finish with Butter
Once your curd has thickened to perfection, remove the saucepan from the heat. Immediately add the cold butter cubes, a few at a time, whisking constantly until each addition is completely melted and incorporated before adding the next. The cold butter helps to cool the curd down slightly and adds a beautiful richness and shine. It also contributes to the final silky, melt-in-your-mouth texture.
Step 6: Strain for Perfection
For the ultimate, velvety-smooth curd, pass it through a fine-mesh sieve set over a large bowl. Use a spatula to press the curd through the sieve, scraping the underside of the sieve to collect every bit of this golden goodness. This final step ensures that any tiny bits of cooked egg or zest are removed, leaving you with an impeccable texture. You can also add a little extra zest at this point for a more pronounced citrus pop, if you like.
Step 7: Cool and Chill
To prevent a thick skin from forming on the surface as it cools, press a piece of plastic wrap directly onto the surface of the warm curd. This is called “skin-on” covering. This prevents the curd from forming a rubbery layer and keeps it perfectly smooth.
Let the curd cool to room temperature on the counter. Then, transfer it to the refrigerator to chill for at least 2 hours, or until it is completely cold and set. The curd will continue to thicken as it cools.
The Final Result
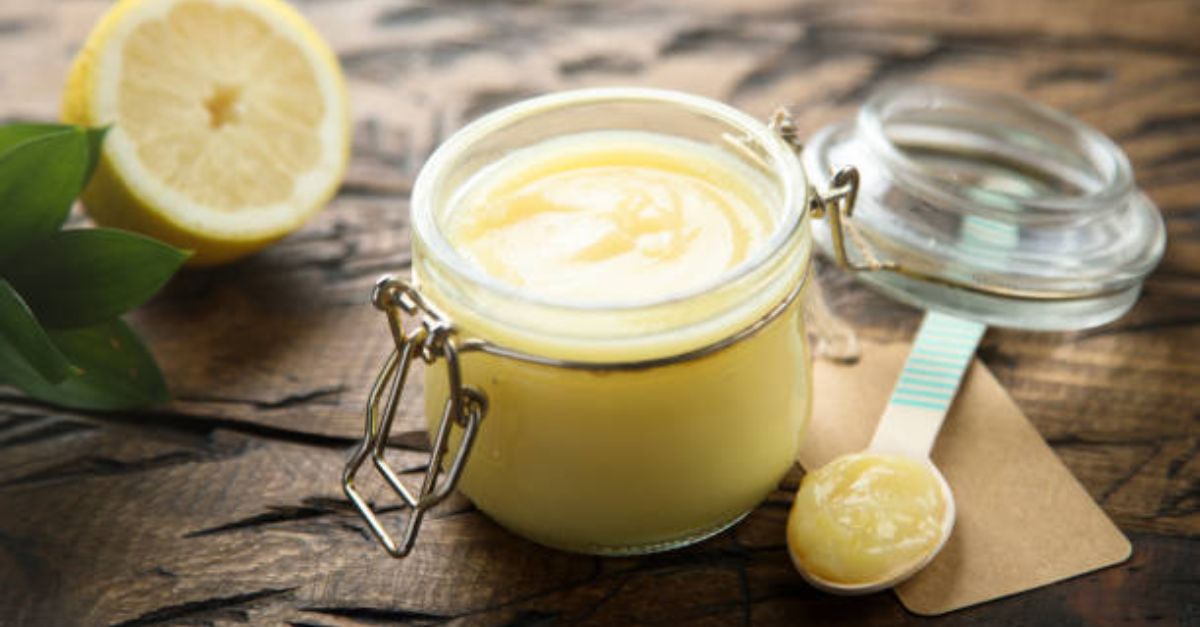
Your homemade lemon curd is now ready! It should be a luscious, brilliant yellow, with a smooth, spreadable consistency and a perfectly balanced sweet-tart flavor.
Storage Instructions
Store your lemon curd in a clean, airtight glass jar or container. It will keep well in the refrigerator for up to 1 week. For longer storage, you can freeze it in a freezer-safe container for up to 3 months. When you are ready to use it, thaw it overnight in the refrigerator.
Nutrition Information
(Please note that this nutritional information is an estimate based on a 1-tablespoon serving and is for informational purposes only. It is not a substitute for professional medical or nutritional advice.)
Serving Size: 1 tablespoon (approx. 15 g)
Calories: 65 kcal
Total Fat: 3.5 g
Saturated Fat: 2 g
Cholesterol: 35 mg
Sodium: 20 mg
Total Carbohydrates: 8 g
Dietary Fiber: 0 g
Total Sugars: 7 g
Protein: 1 g