Recipe Phase Time Estimate Intensity Level Description of Activity
Prep – Peeling & Pitting 20 – 25 Minutes MODERATE Blanching, shocking, peeling, and pitting the peaches. This is the most hands-on, tactile part of the process.
Prep – Maceration 30 Minutes – 1 Hour LOW The maceration period requires no active work, just letting the peaches and sugar sit.
Cooking & Setting 25 – 40 Minutes HIGH The most critical and intense phase. Constant stirring is required to prevent scorching while monitoring the temperature and watching for the set point. Requires focus and attention.
Jar Filling & Processing 20 Minutes MODERATE Ladling the hot jam into jars, wiping rims, and placing them in the water bath. Requires care to avoid burns.
Water Bath Processing 10 Minutes LOW The jars are processed in boiling water. This is active waiting time.
Cooling & Sealing 12 – 24 Hours VERY LOW Leaving the jars undisturbed to cool and seal. This is a passive phase.
Total Time ~ 2 Hours + Cooling OVERALL: MODERATE The active cooking time is roughly 1.5 hours. This is a project, but a manageable one.
Intensity Legend:
LOW: Passive time with little to no active work (e.g., waiting).
MODERATE: Requires active, focused, but careful work (e.g., peeling, filling jars).
HIGH: Demands constant attention, multi-tasking, and precise action (e.g., cooking to the set point).
Step-by-Step Instructions: The Art of Jam Making
Phase 1: Preparation
1. Prepare the Canner and Jars: Place your canning rack in the bottom of your large stockpot and fill it with enough water to cover the jars by at least 1 inch. Bring this water to a simmer (180°F). Meanwhile, place your clean jars in the simmering water to keep them hot. Place the new lids in a small saucepan of simmering water (not boiling) to soften the sealing compound. Keep them warm until ready to use.
2. Peel the Peaches: Bring a large pot of water to a rolling boil. Prepare a large bowl of ice water. Using a sharp knife, score a small “X” on the bottom of each peach. Working in batches of 2-3, carefully lower the peaches into the boiling water for 30-45 seconds. You will see the skin around the “X” start to curl. Immediately transfer the peaches with a slotted spoon to the ice bath to stop the cooking process. Once cool, the skins should slip off easily. Peel all the peaches.
3. Pit and Chop: Cut the peaches in half and remove the pits. Roughly chop the peaches into ½-inch to ¾-inch chunks. Do not puree them; you want a chunky texture. If you can, save a few of the pits and crack them open to retrieve the small kernel inside (they look like almonds). Add a couple of these kernels to the jam for a subtle, almond-like nuance (this is optional but a traditional trick).
Phase 2: Maceration (The “Soak”)
4. Combine Fruit and Sugar: In your heavy-bottomed pot, combine the chopped peaches, sugar, lemon juice, and lemon zest (if using). Stir gently to ensure all the peaches are coated in sugar.
5. Macerate: Let this mixture sit at room temperature for at least 30 minutes and up to 1 hour. This process, called maceration, draws the natural juices out of the fruit, dissolving the sugar and creating a beautiful, syrupy base. This step helps the fruit release its pectin and ensures an even cook.
Phase 3: Cooking to the Set Point
6. Cook the Jam: Place the pot over medium-high heat and bring the mixture to a full, rolling boil—a boil that cannot be stirred down. Once it reaches a vigorous boil, stir in the peach kernels (if using) and attach your candy thermometer to the side of the pot, ensuring the bulb is submerged in the jam but not touching the bottom.
7. Monitor the Temperature: This is the most critical phase. Boil the jam, stirring frequently and scraping the bottom of the pot to prevent scorching. You will notice the mixture darkening, thickening, and becoming more translucent.
8. The Set Point: Continue to boil until the jam reaches 220°F (104°C) . This is the gel point for jams and jellies, as the temperature is 8°F above the boiling point of water (at sea level). If you are at a higher altitude, adjust this temperature by subtracting 1°F for every 500 feet above sea level.
9. The Wrinkle Test (Optional but Recommended): As you approach the temperature, you can test the set. Place a small plate in the freezer at the beginning of the cooking process. When you think the jam is ready, spoon a small amount onto the cold plate, let it sit for 30 seconds, and push it with your finger. If it wrinkles and holds its shape, it is set. If it is still runny, continue to boil for another 2-3 minutes and test again.
10. Remove from Heat: Once the set point is reached, turn off the heat. Skim off any foam that has risen to the surface with a metal spoon (this foam is harmless but doesn’t look pretty in the final jar).
Phase 4: Canning and Sealing
11. Fill the Jars: Remove the hot jars from the canning pot using your jar lifter, carefully pouring the water back into the pot. Place them on a clean kitchen towel. Using your canning funnel and a ladle, carefully fill each hot jar with the hot jam, leaving a ¼-inch headspace at the top.
12. Remove Air Bubbles: Gently slide a thin, non-metallic spatula or a chopstick around the inside edges of the jar to release any trapped air bubbles. Adjust the headspace if necessary by adding more jam.
13. Clean and Lid: Wipe the rim of each jar with a clean, damp paper towel to remove any sticky residue. Place a warm lid on each jar and screw on the band until it is fingertip-tight (tighten it until you feel resistance, then give it just another small pinch—do not overtighten).
14. Process: Using your jar lifter, carefully lower the filled jars back into the simmering water in the canning pot. Ensure the water covers the jars by at least 1 inch. Turn the heat to high and bring the water to a full rolling boil. Once boiling, start your timer and process for 10 minutes (adjust for altitude).
15. Cool and Seal: Turn off the heat, remove the lid from the canner, and let the jars sit in the hot water for 5 minutes. Then, using the jar lifter, carefully transfer the jars to a clean towel-lined countertop. Let them cool, undisturbed, for 12 to 24 hours. You will hear a delightful “ping” sound as each jar seals.
Phase 5: Testing and Storage
16. Test the Seals: After the jars have cooled, press down on the center of each lid. If it does not flex and is concave, the jar is sealed. If it flexes up and down, it did not seal, and you should refrigerate that jar and use it within 3 weeks.
17. Store: Wipe the jars clean, label them with the date, and store your sealed jars in a cool, dark, and dry place. Properly sealed and processed jam will last for 12 to 18 months.
How to Use & The Final Result
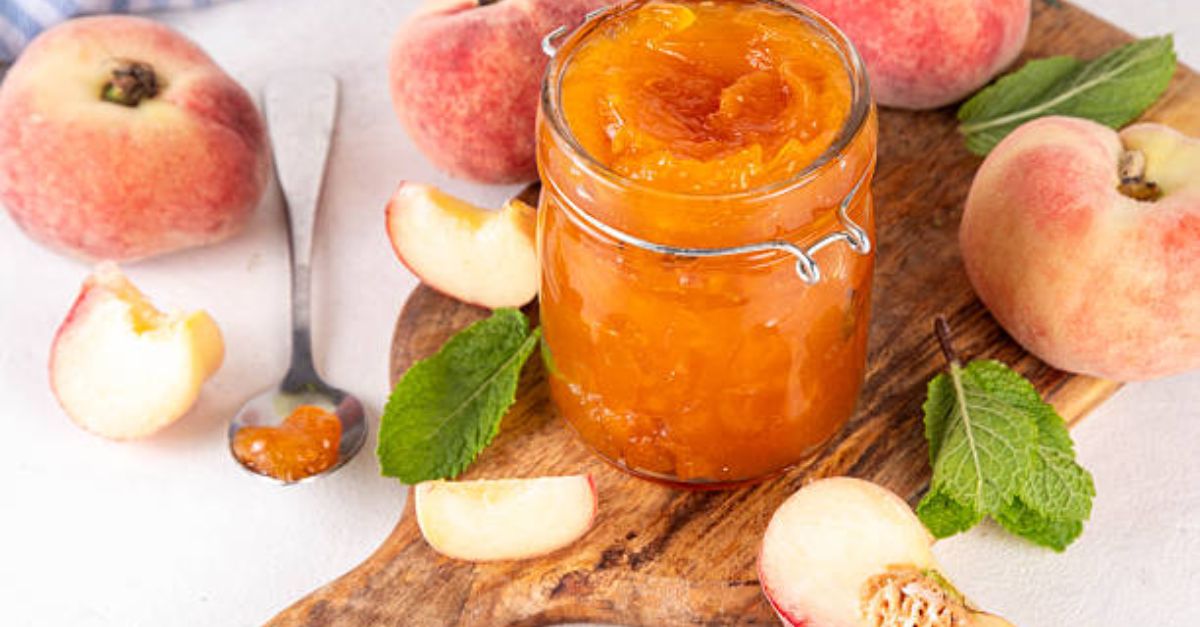
Your Homemade Peach Jam should be a glorious, amber-golden color, studded with soft pieces of fruit. It has a lush, slightly softer set than store-bought jam, with a bright, complex flavor that is intensely peachy, with a perfect hint of tartness from the lemon.
Serving Suggestions:
The Classic: Slathered onto a warm, buttered English muffin or freshly baked bread.
For Breakfast: Swirled into a bowl of plain Greek yogurt or oatmeal with a sprinkle of granola.
Savory: Use it as a glaze for grilled pork chops or chicken. It also makes a fantastic addition to a cheese board, pairing beautifully with aged cheddar or creamy brie.
Baking: Use it as a filling for thumbprint cookies or a layer between cakes.
Nutritional Information (Per 1 Tablespoon Serving)
This information is an estimate based on the ingredients used and standard nutritional databases.
Serving Size: 1 Tablespoon (approx. 20g)
Calories: ~ 50 kcal
Total Fat: 0 g
Saturated Fat: 0 g
Cholesterol: 0 mg
Sodium: 0 mg
Total Carbohydrates: ~ 13 g
Dietary Fiber: < 1 g
Total Sugars: ~ 12 g (Naturally occurring from fruit and added sugar)
Protein: 0 g
Vitamin C: ~ 2% of Daily Value