*Prep Time: 30 minutes (plus 12-16 hours fermentation)*
*Bake Time: 45-50 minutes*
*Total Time: 13-17 hours*
Difficulty: Intermediate
Intensity: Moderate (requires active sourdough starter)
Introduction
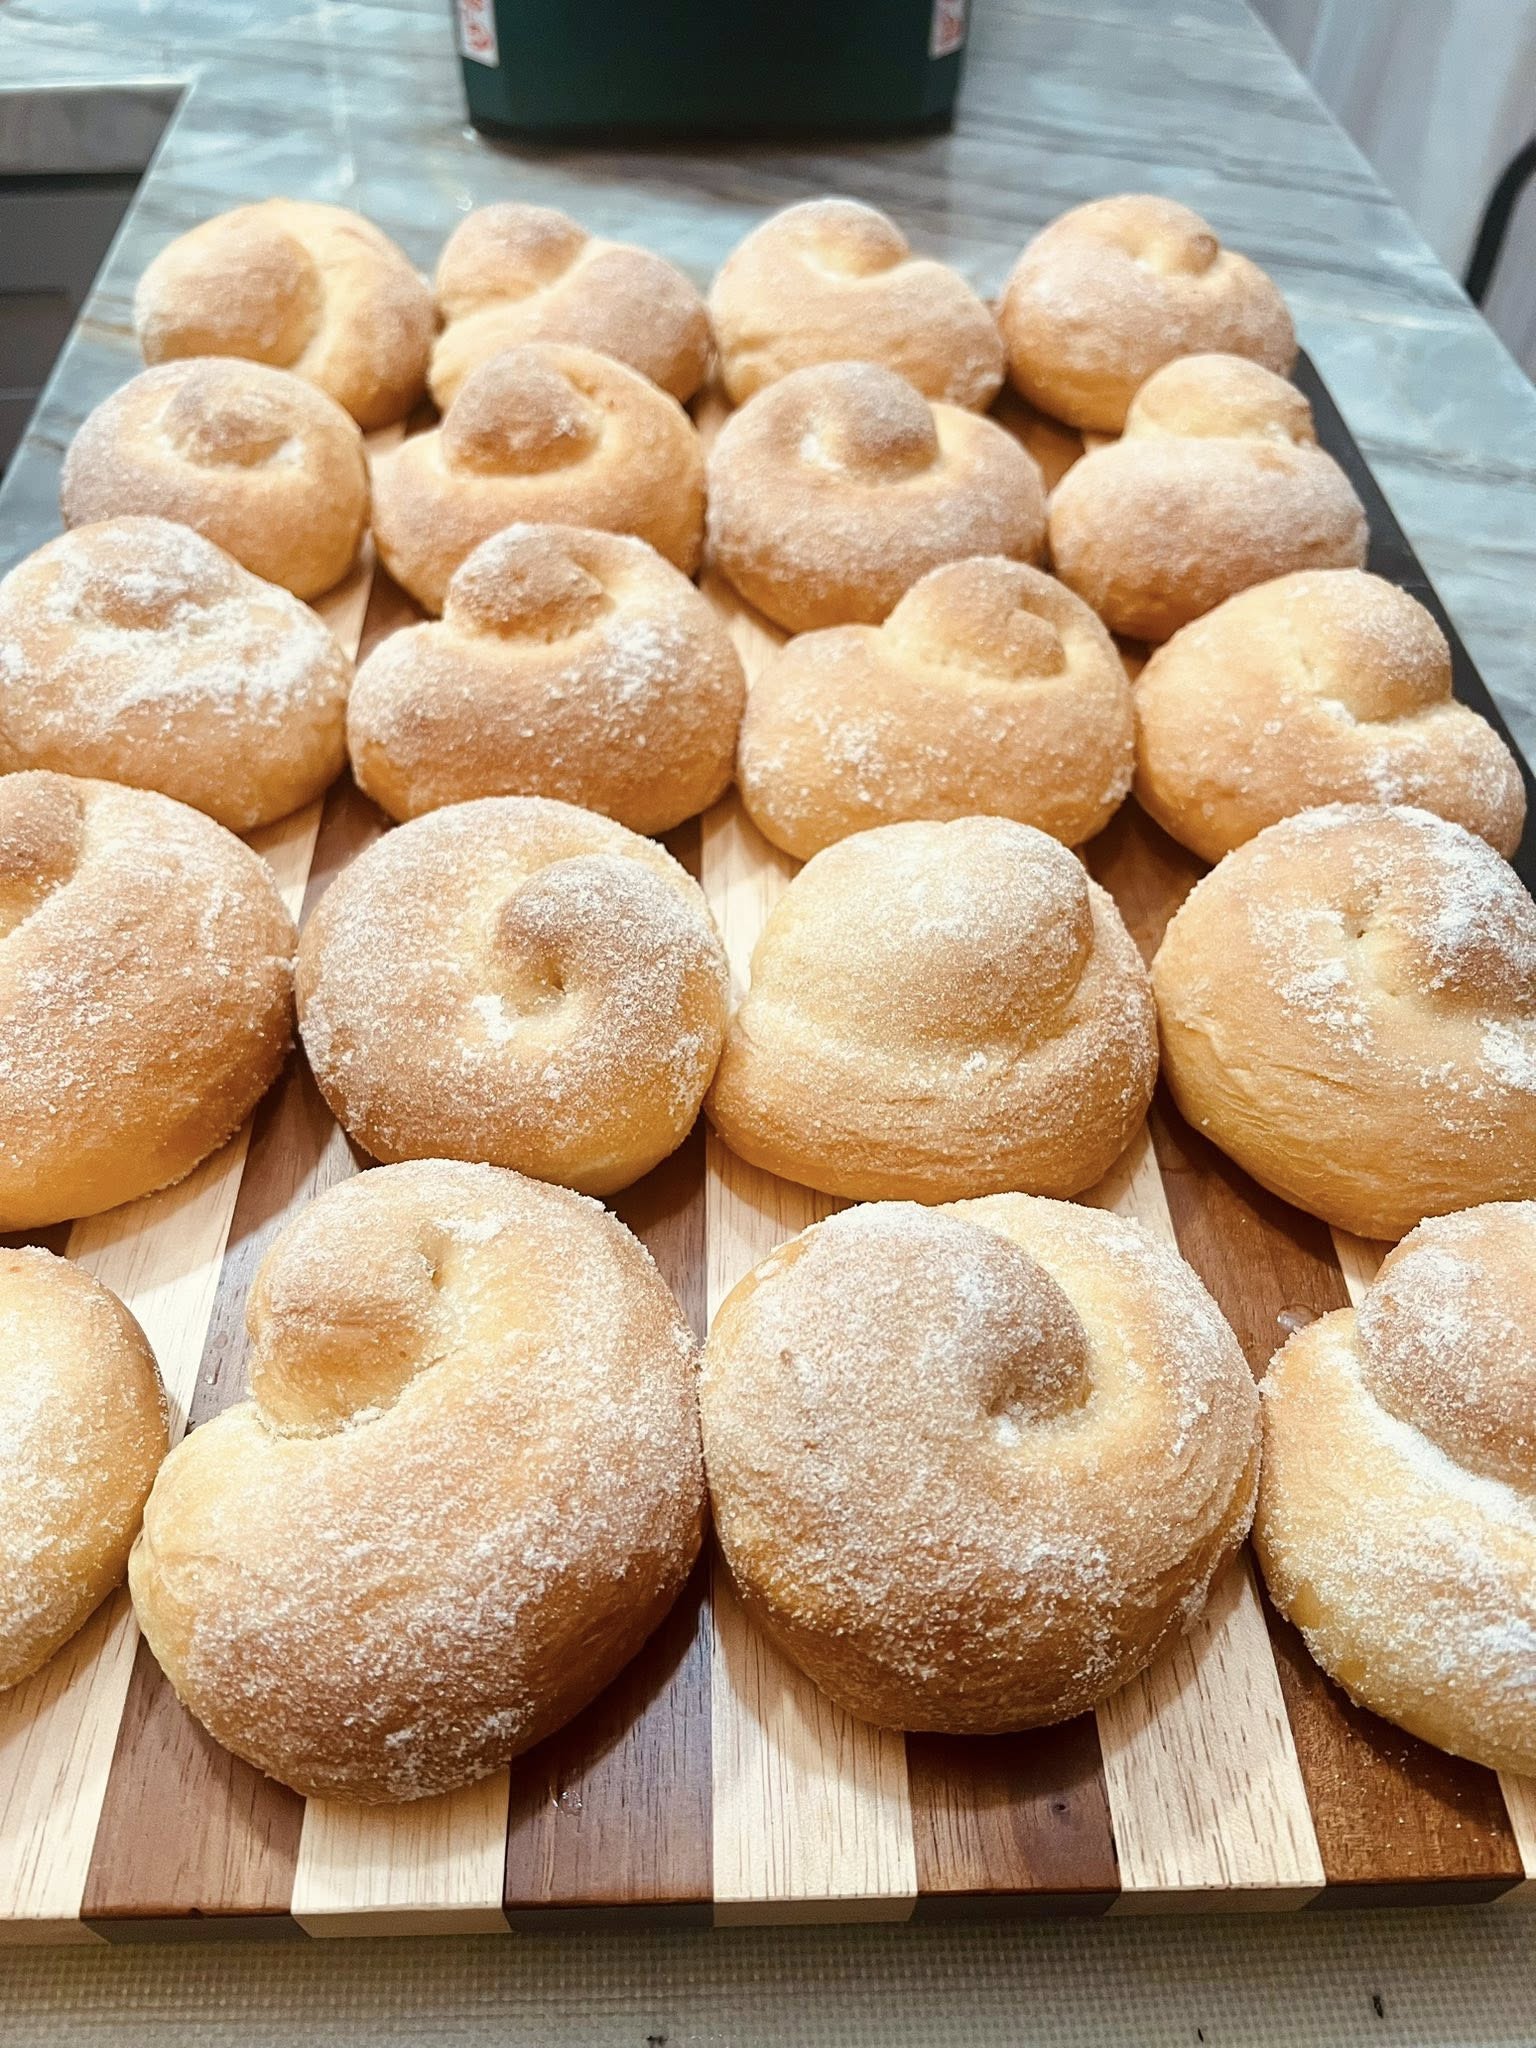
This Sourdough Sweet Orange Bread combines the tangy depth of traditional sourdough with the bright, citrusy sweetness of fresh oranges. The result is a beautifully textured loaf with a golden crust, tender crumb, and a delightful aroma that fills your kitchen. Perfect for toasting, as a base for French toast, or simply enjoyed with a pat of butter alongside your morning coffee, this recipe brings a sunny twist to your baking repertoire.
While the process requires patience, the reward is a homemade artisan loaf that far surpasses anything you can buy. The natural fermentation from the sourdough starter not only develops complex flavors but also makes the bread more digestible and nutritious.
Ingredients
For the Bread:
Active sourdough starter (100% hydration): 150g (⅔ cup)
Bread flour: 500g (4 cups + 2 tablespoons)
Fresh orange juice: 200g (¾ cup + 2 tablespoons), strained
Orange zest: From 2 large oranges (about 2 tablespoons)
Warm water: 50g (3 tablespoons + 1 teaspoon)
Honey: 50g (2½ tablespoons)
Fine sea salt: 10g (1¾ teaspoons)
Unsalted butter, softened: 30g (2 tablespoons), for richness (optional)
For the Orange Glaze (Optional):
Powdered sugar: 100g (¾ cup + 2 tablespoons)
Orange juice: 1½-2 tablespoons, fresh
Orange zest: 1 teaspoon
Equipment
Digital kitchen scale (recommended for accuracy)
Large mixing bowl
Dough scraper
Banneton proofing basket or medium bowl lined with a kitchen towel
Dutch oven or heavy baking pot with lid
Parchment paper
Cooling rack
Zester/microplane
Citrus juicer
Instructions
Day 1: Evening Preparation (15 minutes active)
1. Prepare the Orange Components:
Zest two large oranges, being careful to avoid the bitter white pith.
Juice the oranges until you have at least 200g of strained juice. Warm the juice slightly to about 80°F (27°C) to encourage fermentation.
2. Mix the Dough (Autolyse):
In a large mixing bowl, combine the bread flour, warm orange juice, warm water, honey, and orange zest.
Mix until no dry flour remains. The dough will be shaggy. Cover with a damp kitchen towel or plastic wrap and let rest for 30-60 minutes. This autolyse period allows the flour to fully hydrate and gluten development to begin.
3. Incorporate Starter and Salt:
After the autolyse, add the active sourdough starter and salt to the dough.
If using butter, add it now.
Mix thoroughly using wet hands or a dough scraper until all ingredients are fully incorporated, about 3-5 minutes.
4. Bulk Fermentation (Overnight):
Cover the bowl tightly and let it rest at room temperature (68-72°F/20-22°C) for 10-12 hours. During this time, the dough will approximately double in size and become puffy with bubbles visible on the surface.
Day 2: Morning (2 hours active time)
5. Shape the Dough (15 minutes):
Gently turn the dough out onto a lightly floured surface. Be careful not to deflate it excessively.
Shape into a tight round or oval by folding the edges toward the center, creating surface tension.
Place the dough seam-side up in a well-floured banneton or a bowl lined with a floured kitchen towel.
6. Second Rise (1-1.5 hours):
Cover the shaped dough and let it rise at room temperature until it looks puffy and has increased by about 50% in size. This second proof is shorter than the bulk fermentation.
7. Preheat and Score (20 minutes):
About 30 minutes before baking, place your Dutch oven (with lid) in the oven and preheat to 450°F (230°C).
Once the dough is ready, carefully remove the hot Dutch oven. Turn the proofed dough onto a piece of parchment paper.
Using a sharp blade or razor, make one or several shallow cuts (scores) on top of the dough. This controls expansion during baking.
8. Bake (50 minutes):
Carefully lower the dough (with parchment paper) into the hot Dutch oven.
Cover with the lid and bake for 30 minutes.
Remove the lid, reduce the oven temperature to 425°F (220°C), and bake for another 15-20 minutes until the crust is deeply golden brown.
For an accurate test, the internal temperature should reach 205-210°F (96-99°C).
9. Cool Completely (2 hours minimum):
Transfer the loaf to a cooling rack immediately. Resist the temptation to cut into it while hot—the interior is still setting and needs time to develop its final texture.
Allow to cool for at least 2 hours before slicing.
10. Prepare Glaze (Optional – 5 minutes):
– If using the glaze, whisk together powdered sugar, orange juice, and zest until smooth.
– Drizzle over the cooled loaf.
Baker’s Notes
Starter Readiness: Ensure your sourdough starter is active and bubbly, having been fed 4-12 hours before use. It should pass the float test (a small spoonful should float in water).
Temperature Matters: Cooler temperatures slow fermentation, warmer speeds it up. Adjust timings based on your kitchen’s ambient temperature.
Flour Variations: You can substitute up to 100g of bread flour with whole wheat flour for added nutrition and flavor complexity.
Storage: Store leftovers in a paper bag at room temperature for 2-3 days. For longer storage, slice and freeze in an airtight bag for up to 3 months.
Nutrition Information
*Per slice (1/12 of loaf, without optional glaze):*
Calories: 210 kcal
Total Fat: 1g (2% DV*)
Saturated Fat: 0.5g (3% DV)
Cholesterol: 2mg (1% DV)
Sodium: 325mg (14% DV)
Total Carbohydrates: 44g (16% DV)
Dietary Fiber: 2g (7% DV)
Sugars: 6g
Protein: 6g
Vitamin C: 10% DV
Calcium: 1% DV
Iron: 10% DV