Total Time: 36-40 hours (mostly hands-off fermentation)
Active Time: 30-40 minutes
Difficulty: Intermediate
Yield: 1 beautiful loaf (about 16 slices)
Description: This isn’t your average bread. This sourdough sandwich bread combines the complex, tangy flavor of traditional sourdough with the soft, even crumb perfect for sandwiches. Unlike rustic boules, this loaf is baked in a pan, yielding square slices ideal for everything from avocado toast to peanut butter and jelly. The extended fermentation not only develops incredible flavor but also makes the bread more digestible. While the process spans two days, your actual hands-on time is minimal—a perfect weekend project that rewards patience with the best bread you’ve ever made.
Ingredients
For the Leaven (prepared 8-12 hours before mixing dough)
-
50g (¼ cup) active sourdough starter (100% hydration)
-
50g (¼ cup + 1 tbsp) bread flour
-
50g (scant ¼ cup) room temperature water
For the Main Dough
-
All of the prepared leaven (about 150g)
-
375g (1 ½ cups + 1 tbsp) warm water (about 85°F/30°C)
-
500g (4 cups + 2 tbsp) bread flour
-
10g (1 ¾ tsp) fine sea salt
-
15g (1 tbsp) olive oil or melted butter (for tender crumb)
-
Optional: 1 tbsp honey or maple syrup (subtly balances acidity)
For Topping (optional)
-
Melted butter or olive oil for brushing
-
Sesame seeds, rolled oats, or everything bagel seasoning
Equipment
-
9×5 inch loaf pan
-
Large mixing bowl
-
Bench scraper
-
Plastic wrap or damp towel
-
Digital kitchen scale (highly recommended for accuracy)
-
Oven
Instructions
Day 1: Evening – Create the Leaven
Time: 5 minutes active | Intensity: Low
-
Mix: In a small jar or bowl, combine the 50g of active starter, 50g bread flour, and 50g water. Stir until no dry flour remains.
-
Ferment: Cover loosely and let sit at room temperature (70-75°F/21-24°C) for 8-12 hours, or overnight. The leaven is ready when it’s bubbly, has nearly doubled in volume, and passes the “float test”: a small spoonful dropped in a glass of water should float.
Day 2: Morning – Mix & Autolyse
Time: 10 minutes active | Intensity: Low
-
Combine: In your large mixing bowl, combine the 375g warm water and all of the ripe leaven. Use a whisk or your hands to dissolve the leaven completely.
-
Add Flour: Add the 500g bread flour and optional sweetener. Mix with a sturdy spoon or your hands until no dry bits of flour remain. The dough will be shaggy and sticky.
-
Rest (Autolyse): Cover the bowl and let it rest for 45 minutes to 1 hour. This allows the flour to fully hydrate and gluten to start developing naturally, making the dough easier to handle.
Day 2: Late Morning – Fold & Bulk Fermentation
Time: 15 minutes active (spread out) | Intensity: Medium
-
Add Salt & Fat: After the autolyse, sprinkle the 10g salt and drizzle the 15g oil over the dough. Gently dimple it in with wet hands.
-
Fold: With wet hands, grab the dough from one side, stretch it upward, and fold it over to the center. Rotate the bowl a quarter turn and repeat 5-7 more times until the salt and oil are fully incorporated and the dough begins to feel stronger.
-
Bulk Ferrise (First Rise): Cover the bowl tightly. Over the next 4-6 hours (depending on your kitchen temperature), perform 3-4 sets of “stretch and folds.”
-
Every 30-60 minutes: Wet your hands, grab an edge of the dough, stretch it up, and fold it over. Repeat around the bowl (usually 4-6 folds). This builds strength without kneading.
-
The dough is ready when it has increased by about 50%, looks pillowy, holds an indent slowly, and has a smooth, bubbly surface.
-
Day 2: Evening – Shape & Cold Proof
Time: 10 minutes active | Intensity: Medium
-
Shape: Lightly flour your work surface. Gently turn the dough out. Using your bench scraper and floured hands, shape it into a rectangle. Fold the top third down, then the bottom third up (like a letter). Then, starting from a short end, roll the dough tightly into a log. Pinch the seam closed.
-
Pan: Grease your 9×5 loaf pan. Place the dough seam-side down in the pan.
-
Cold Proof (Second Rise): Cover the pan loosely with plastic wrap or a damp towel and place it immediately in the refrigerator. Let it proof slowly for 12-16 hours (overnight). This long, cold fermentation is the secret to deep, complex flavor.
Day 3: Morning – Bake
Time: 5 minutes active, 45 minutes baking | Intensity: Low
-
Preheat: Take the loaf pan out of the refrigerator. Let it sit on the counter while you preheat your oven to 425°F (220°C) with a rack in the center position. Preheat for at least 30 minutes.
-
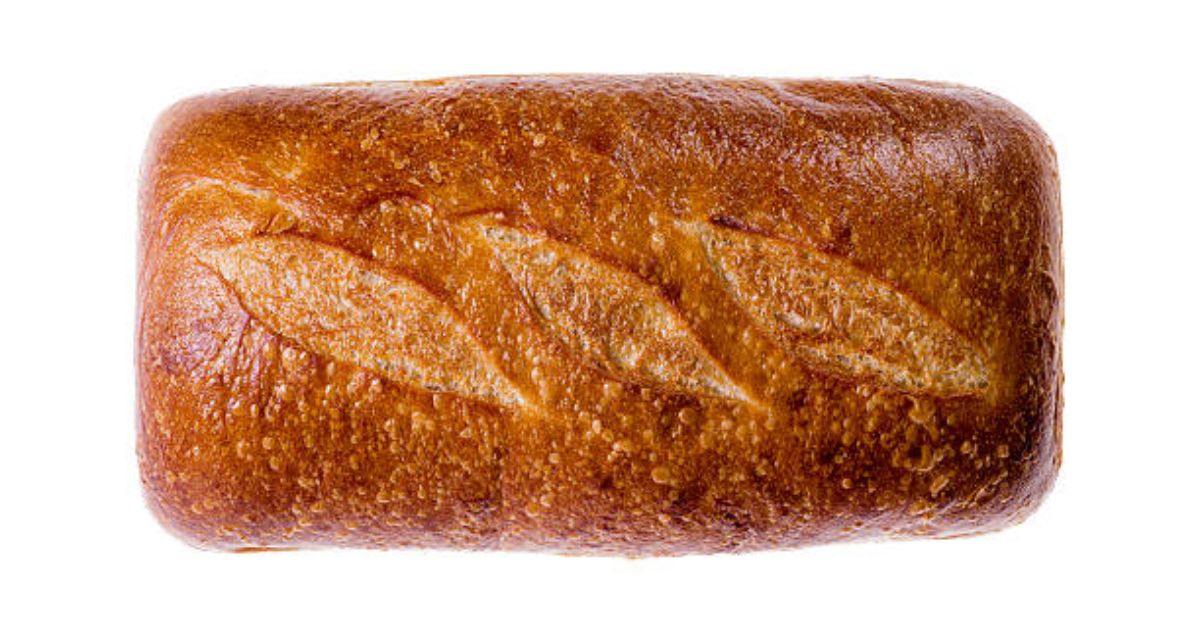
Score & Top (Optional): If desired, make a shallow slash down the center of the loaf with a sharp knife or razor. Brush with water and sprinkle with seeds or oats.
-
Bake: Place the pan in the hot oven. Bake for 30 minutes.
-
Reduce & Finish: After 30 minutes, reduce the oven temperature to 375°F (190°C). Continue baking for another 15-20 minutes, or until the loaf is deeply golden brown and the internal temperature reaches 205-210°F (96-99°C) on an instant-read thermometer.
-
Cool: This is the hardest step! Immediately turn the loaf out onto a wire cooling rack. Let it cool completely for at least 2-3 hours before slicing. Cutting into hot bread will result in a gummy texture.
Nutrition Information (Per Slice, 1/16 of loaf)
-
Calories: ~140
-
Total Fat: 1g
-
Saturated Fat: 0.2g
-
Cholesterol: 0mg
-
Sodium: 240mg
-
Total Carbohydrates: 28g
-
Dietary Fiber: 1g
-
Sugars: <1g
-
Protein: 5g