Prep Time: 45 minutes (plus 3 hours inactive time)
Cook Time: 1 hour 15 minutes
Total Time: 4 hours 30 minutes (plus an optional 24-hour cold ferment)
Intensity: Moderate. This recipe requires patience and a few steps, but none are overly complicated. It’s perfect for a weekend baking project.
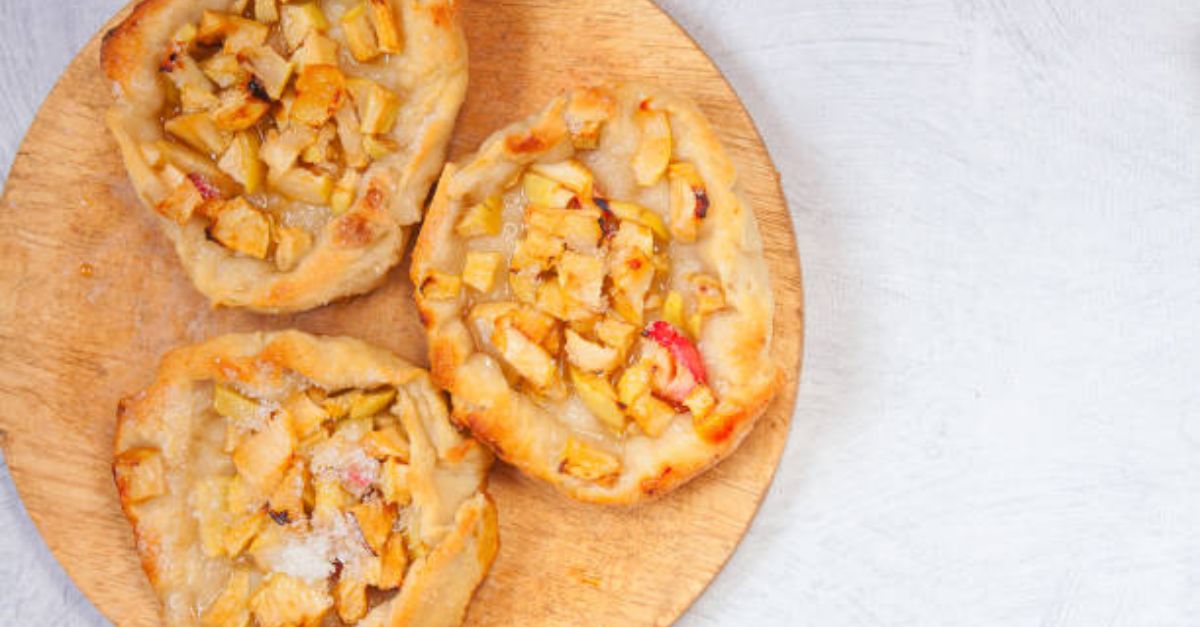
This isn’t just another apple pie. This is The Artisan Baker’s Sourdough Apple Pie. By incorporating a vibrant, active sourdough starter into our buttery, flaky crust, we introduce a subtle, complex tang that perfectly balances the sweet, spiced apple filling. The result is a pie with an unforgettable depth of flavour and a crust that is simultaneously tender, crisp, and incredibly flavorful. It’s a beautiful marriage of rustic tradition and classic comfort, destined to become the star of your autumn table.
The Philosophy Behind the Crust
Why sourdough? In a traditional pie crust, cold water is used to bind the dough and create steam for flakiness. Here, we replace that water with a stiff sourdough starter discard (or active starter). The natural acids in the starter tenderise the gluten, preventing a tough crust, while the fermentation adds a savoury note that makes the sweet filling sing. It’s a game-changer.
Ingredients
For the Sourdough Pie Crust (Makes one double-crust 9-inch pie)
280g (2 ¼ cups) All-purpose flour, plus extra for dusting
1 tbsp Granulated sugar (helps with browning and tenderness)
1 tsp Fine sea salt
226g (1 cup or 2 sticks) Unsalted butter, very cold, cut into ½-inch cubes
120g (½ cup) Active, bubbly sourdough starter or unfed discard (straight from the fridge is perfect)
60-90ml (¼ – ⅓ cup) Ice-cold water
For the Bourbon-Spiced Apple Filling
900g (about 6-7 medium) Mixed baking apples, such as Honeycrisp, Granny Smith, and Braeburn
150g (¾ cup) Light or dark brown sugar, packed
50g (¼ cup) Granulated sugar
3 tbsp All-purpose flour (helps thicken the juices)
1 tbsp Fresh lemon juice
1 ½ tsp Ground cinnamon
½ tsp Ground ginger
¼ tsp Ground nutmeg
¼ tsp Ground allspice
Pinch of ground cloves
2 tbsp Bourbon (optional, but highly recommended for warmth)
1 tsp Vanilla extract
For Assembly & Finishing
1 large egg, beaten with 1 tbsp water (for egg wash)
1-2 tbsp Turbinado or coarse sugar, for sprinkling
Instructions
Part 1: The Sourdough Crust (Hands-on: 15 mins | Inactive: 2+ hours)
Combine Dry Ingredients: In a large bowl, whisk together the flour, sugar, and salt.
Cut in the Butter: Add the cold, cubed butter. Using a pastry blender or your fingertips (work quickly to keep the butter cold!), cut the butter into the flour until the mixture resembles a coarse meal with plenty of pea-sized butter lumps. A few larger flakes are a good thing – they create flakiness.
Incorporate the Starter: Add the sourdough starter to the bowl. Using a fork, toss to distribute it as evenly as possible. The mixture will look shaggy.
Add Ice Water: Drizzle 4 tablespoons (60ml) of the ice-cold water over the mixture. Using your hands or a fork, gently mix until the dough comes together. It should feel moist but not sticky. If it seems too dry, add the remaining water, one tablespoon at a time, until it just holds together when squeezed.
Chill and Rest: Turn the dough out onto a lightly floured surface. Divide it into two equal portions, one slightly larger than the other (for the bottom crust). Shape each into a flat disc. Wrap each disc tightly in plastic wrap and refrigerate for at least 2 hours, or up to 2 days. This resting period is crucial for relaxing the gluten and allowing the flour to fully hydrate.
Part 2: The Filling & Prepping the Bake (Hands-on: 30 mins | Inactive: 30 mins)
Prepare the Apples: Peel, core, and slice the apples into ¼-inch thick slices. Place them in a massive bowl.
Make the Filling: To the bowl with the apples, add the brown sugar, granulated sugar, flour, lemon juice, cinnamon, ginger, nutmeg, allspice, cloves, bourbon (if using), and vanilla extract.
Toss and Macerate: Use your hands or a large spatula to toss everything together until every apple slice is well coated. Let this mixture sit at room temperature for at least 30 minutes, or up to 1 hour. This “macerating” step draws the juices out of the apples, which will then combine with the sugar and flour to create a luscious, thick syrup. (Don’t be tempted to skip this!)
Preheat Oven: Place a baking sheet on the middle rack of your oven and preheat to 220°C (425°F) . The hot baking sheet will help ensure the bottom crust bakes through and becomes crisp.
Part 3: Assembling the Masterpiece (Hands-on: 15 mins)
Roll Out the Dough: On a lightly floured surface, roll out the larger disc of dough into a 12-inch circle. Gently transfer it to a 9-inch pie plate, letting the excess hang over the edges. Place it in the refrigerator while you roll out the top crust.
Roll Out the Top Crust: Roll out the second disc of dough into an 11-inch circle. For a classic look, you can cut it into strips for a lattice, or simply leave it whole for a double-crust pie. If doing a lattice, use a ruler and a sharp knife or fluted wheel.
Fill the Pie: Retrieve the pie plate from the fridge. Using a slotted spoon, transfer the macerated apples into the bottom crust, mounding them slightly in the centre. Discard (or save for another use) any excess liquid left in the bowl – this prevents a soggy bottom.
Top the Pie: Place your top crust (whole or lattice) over the filling. If using a whole crust, cut several 1-inch slits in the top to allow steam to escape. Trim the overhang to about 1 inch, then tuck the top crust under the bottom crust and crimp the edges decoratively.
Final Chill: Place the assembled pie in the refrigerator for 15-20 minutes to re-chill the butter. This is the secret to the flakiest crust.
Part 4: Baking to Golden Perfection (Bake Time: 1 hr 15 mins)
Egg Wash & Sugar: Remove the pie from the fridge. Brush the entire top crust (and crimped edges) generously with the egg wash. Sprinkle liberally with turbinado sugar for a beautiful sparkle and crunch.
Bake: Place the pie on the preheated baking sheet in the oven. Bake at 220°C (425°F) for 20 minutes.
Reduce Heat & Cover: Reduce the oven temperature to 190°C (375°F) . Bake for another 30 minutes. Check the crust; if it’s browning too quickly, loosely tent the entire pie with aluminum foil.
Finish Baking: Continue baking for another 20-25 minutes, until the crust is a deep golden brown and the filling is bubbling visibly through the vents (or lattice). The internal temperature of the filling should reach at least 85°C (185°F).
Cool Completely: This is the hardest part. Place the pie on a wire rack and let it cool for at least 4 hours, ideally longer. Cutting into a warm pie will result in a runny filling. The cooling time allows the starches to set, giving you those beautiful, clean slices.
Nutrition Information (per serving, based on 8 servings)
Please note that this is an estimate and can vary based on the specific ingredients used.
Calories: 520
Fat: 24g (Saturated Fat: 15g)
Carbohydrates: 72g
Fiber: 5g
Sugar: 42g
Protein: 6g