-
Prep Time: 3 minutes
-
Cook Time: 1 minute 30 seconds
-
Total Time: < 5 minutes
-
Course: Dessert, Snack
-
Cuisine: American
-
Diet: High-Protein, Gluten-Free, Grain-Free, Sugar-Free Option
-
Servings: 1 person
-
Author: [Your Website/Blog Name]
Intensity & Skill Level
-
Difficulty: Very Easy (Beginner-Friendly)
-
Effort: Minimal (One bowl, one mug)
-
Active Time: Low (Just mixing)
Nutritional Information (Approximate, Per Entire Mug Cake)
-
Calories: ~ 290 kcal
-
Protein: 32 g
-
Carbohydrates: 10 g
-
• Dietary Fiber: 4 g
-
• Sugars: 3 g (1 g if using sugar-free syrup)
-
Fat: 14 g
-
• Saturated Fat: 6 g
-
Cholesterol: 185 mg
-
Sodium: 240 mg
*Note: Nutrition calculated using 1 scoop chocolate whey-casein blend, 1 large egg, and sugar-free maple syrup. Values will vary based on specific brands of protein powder and ingredients used.*
Ingredients
-
1 large egg
-
1 scoop (30-35g) chocolate protein powder (whey-casein blend or plant-based blend works best for texture)
-
1 tablespoon (8g) unsweetened cocoa powder
-
1 tablespoon (15ml) maple syrup or sugar-free syrup (like monk fruit)
-
½ teaspoon baking powder
-
1-2 tablespoons (15-30ml) milk of choice (any dairy or unsweetened almond milk)
-
Pinch of salt
-
Optional Add-ins:
-
1 tbsp dark chocolate chips
-
½ tsp vanilla extract
-
A dash of instant coffee (enhances chocolate flavor)
-
For topping: Greek yogurt, nut butter, a sprinkle of sea salt, or fresh berries
-
Equipment Needed
-
1 microwave-safe mug (12 oz / 350ml capacity minimum)
-
1 small whisk or fork
-
1 measuring spoon set
Step-by-Step Instructions
Step 1: Combine Dry Ingredients
In your mug, add the scoop of protein powder, cocoa powder, baking powder, and a pinch of salt. Use your fork to whisk them together thoroughly. This ensures no clumps of baking powder and even chocolate distribution.
Step 2: Add Wet Ingredients
Crack the egg directly into the mug with the dry ingredients. Add the maple syrup. Begin mixing with your fork. The batter will be very thick and pasty at first—this is normal.
Step 3: Achieve the Perfect Batter
Slowly add 1 tablespoon of milk and continue to mix vigorously. Aim for a smooth, thick, but pourable brownie-batter consistency. If it’s still too thick or pasty, add the second tablespoon of milk, one teaspoon at a time. Be careful not to add too much milk, or the cake can become rubbery. If using, stir in chocolate chips or vanilla extract now.
Step 4: Microwave to Perfection
Clean the rim of your mug with a finger or paper towel to ensure even rising. Place the mug in the center of the microwave.
-
Microwave on high for 60 seconds. Start checking at 60 seconds—the top should look set, and it will have risen.
-
If the center still looks very wet, microwave in additional 15-second bursts. Do not exceed 90 seconds total for a standard 1100W microwave. Over-microwaving is the #1 cause of dry, rubbery mug cakes. The cake will continue to set as it cools.
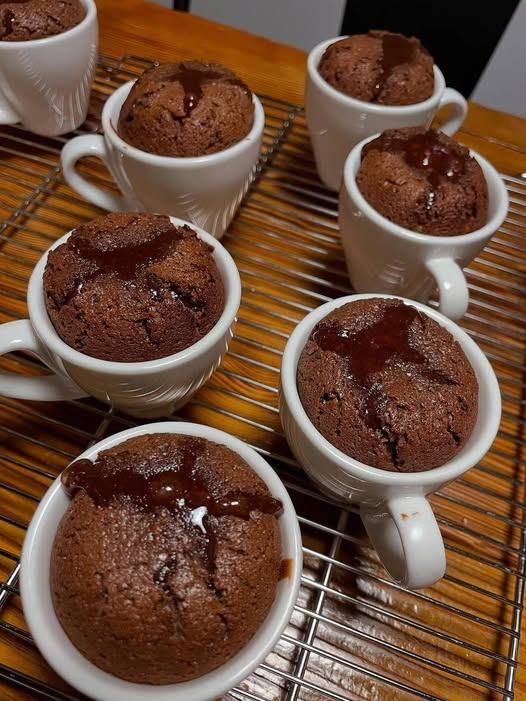
Step 5: Cool & Serve
Carefully remove the mug (it will be hot!). Let it cool for 1-2 minutes. It will sink slightly as it cools. Enjoy directly from the mug!
-
Topping Idea: While warm, top with a dollop of Greek yogurt or a drizzle of almond butter for added creaminess and protein.