Total Time: 24-30 hours (including fermentation)
Difficulty: Medium-High (Requires an active sourdough starter)
Intensity: Low hands-on effort, high mindfulness. This recipe is about timing, feel, and observation.
Ingredients
Ingredient Weight Baker’s Percentage Notes
Active Sourdough Starter 100g 20% Fed 4-12 hours prior, bubbly and at peak.
Bread Flour (high-protein) 400g 80% For strong gluten and open crumb.
Whole Wheat Flour 100g 20% For flavor and complexity.
Water (lukewarm, ~85°F/30°C) 350g 70% Creates a 70% hydration dough.
Fine Sea Salt 10g 2% Do not reduce.
Additional Flour/Rice Flour For dusting — For the banneton.
Optional: Sesame seeds, rolled oats, etc. For topping —
Equipment: Kitchen scale, large mixing bowl, bench scraper, proofing basket (banneton) or bowl lined with a towel, razor blade or lame for scoring, Dutch oven with lid, parchment paper.
Method
Day 1: Evening | Creating the Leaven & Autolyse
Time: 7:00 PM (example timing)
Intensity: Low
Feed Your Starter: Ensure your starter is active and recently fed. If it’s from the fridge, feed it 1:1:1 (starter:water:flour) 4-12 hours before you begin.
Mix the Dough (Autolyse): In a large bowl, combine the 400g bread flour, 100g whole wheat flour, and 350g water. Mix with your hands or a spatula until no dry flour remains. It will be shaggy. Cover the bowl and let it rest (autolyse) for 30-60 minutes. This hydrates the flour and begins gluten development.
Day 1: Evening | Mixing & Bulk Fermentation
Time: 8:00 PM
Intensity: Medium
Add Starter and Salt: Add the 100g of active starter and 10g salt to the autolysed dough. Use wet hands to pinch and fold the ingredients until fully incorporated. The dough will be sticky and slack.
Begin Bulk Fermentation: Cover the bowl tightly with a damp towel, reusable wrap, or lid. This marks the start of bulk fermentation, which will last 10-12 hours at a cool room temperature (68-72°F/20-22°C). This is the most critical phase.
During Bulk Fermentation: Stretch & Folds
Intensity: Low, but requires scheduling
Timing: Over the first 2-3 hours of bulk fermentation, perform 3-4 sets of “stretch and folds,” spaced 30 minutes apart.
5. Stretch & Fold Technique: With wet hands, grab one side of the dough, stretch it up gently, and fold it over the center. Rotate the bowl a quarter turn and repeat 3-4 more times until you’ve gone around the dough. This builds strength without kneading. After each set, re-cover the bowl.
Overnight Rest
Let it Rise: After the final stretch and fold, leave the covered dough untouched for the remainder of the bulk fermentation (7-9 more hours). The dough should look bubbly, jiggly, and have increased in volume by about 30-50%. It should not have collapsed.
Day 2: Morning | Shaping & Final Proof
Time: 7:00 AM
Intensity: Medium
Shape the Loaf: Lightly flour your work surface. Gently tip the dough out. Using a bench scraper and floured hands, shape it into a tight round (boule) or oval (batard) by folding the edges into the center and creating surface tension. See online videos for technique.
Prepare the Banneton: Heavily dust a proofing basket (banneton) or a bowl lined with a clean kitchen towel with a 50/50 mix of rice flour and all-purpose flour.
Final Proof: Place the loaf seam-side up in the prepared basket. Cover loosely with a plastic bag or shower cap. Now, choose your proofing path:
Room Temperature Proof: 1-3 hours, until the dough springs back slowly when gently poked.
Cold Retard (Recommended): Place the covered basket in the refrigerator for 4-14 hours. This develops more sour flavor, firms up the dough for easier scoring, and fits your schedule.
Day 2: Afternoon/Evening | Baking
Time: 3:00 PM (example, after an 8-hour cold proof)
Intensity: Medium-High (due to oven handling)
Preheat the Oven: At least 30 minutes before baking, place your Dutch oven with its lid on in the oven and preheat to 500°F (260°C).
Score the Dough: Carefully take the dough from the fridge. Place a sheet of parchment paper over the basket, flip it over, and gently lift the basket away. The dough should hold its shape. Using a razor blade (lame), make one confident, deep slash (or a decorative pattern) on top. This controls expansion.
Bake (Steam Phase): Carefully remove the screaming-hot Dutch oven. Using the parchment as a sling, lower the dough into it. Put the lid on and place it back in the oven. Reduce temperature to 450°F (230°C). Bake for 20 minutes with the lid on to create a steamy environment for oven spring.
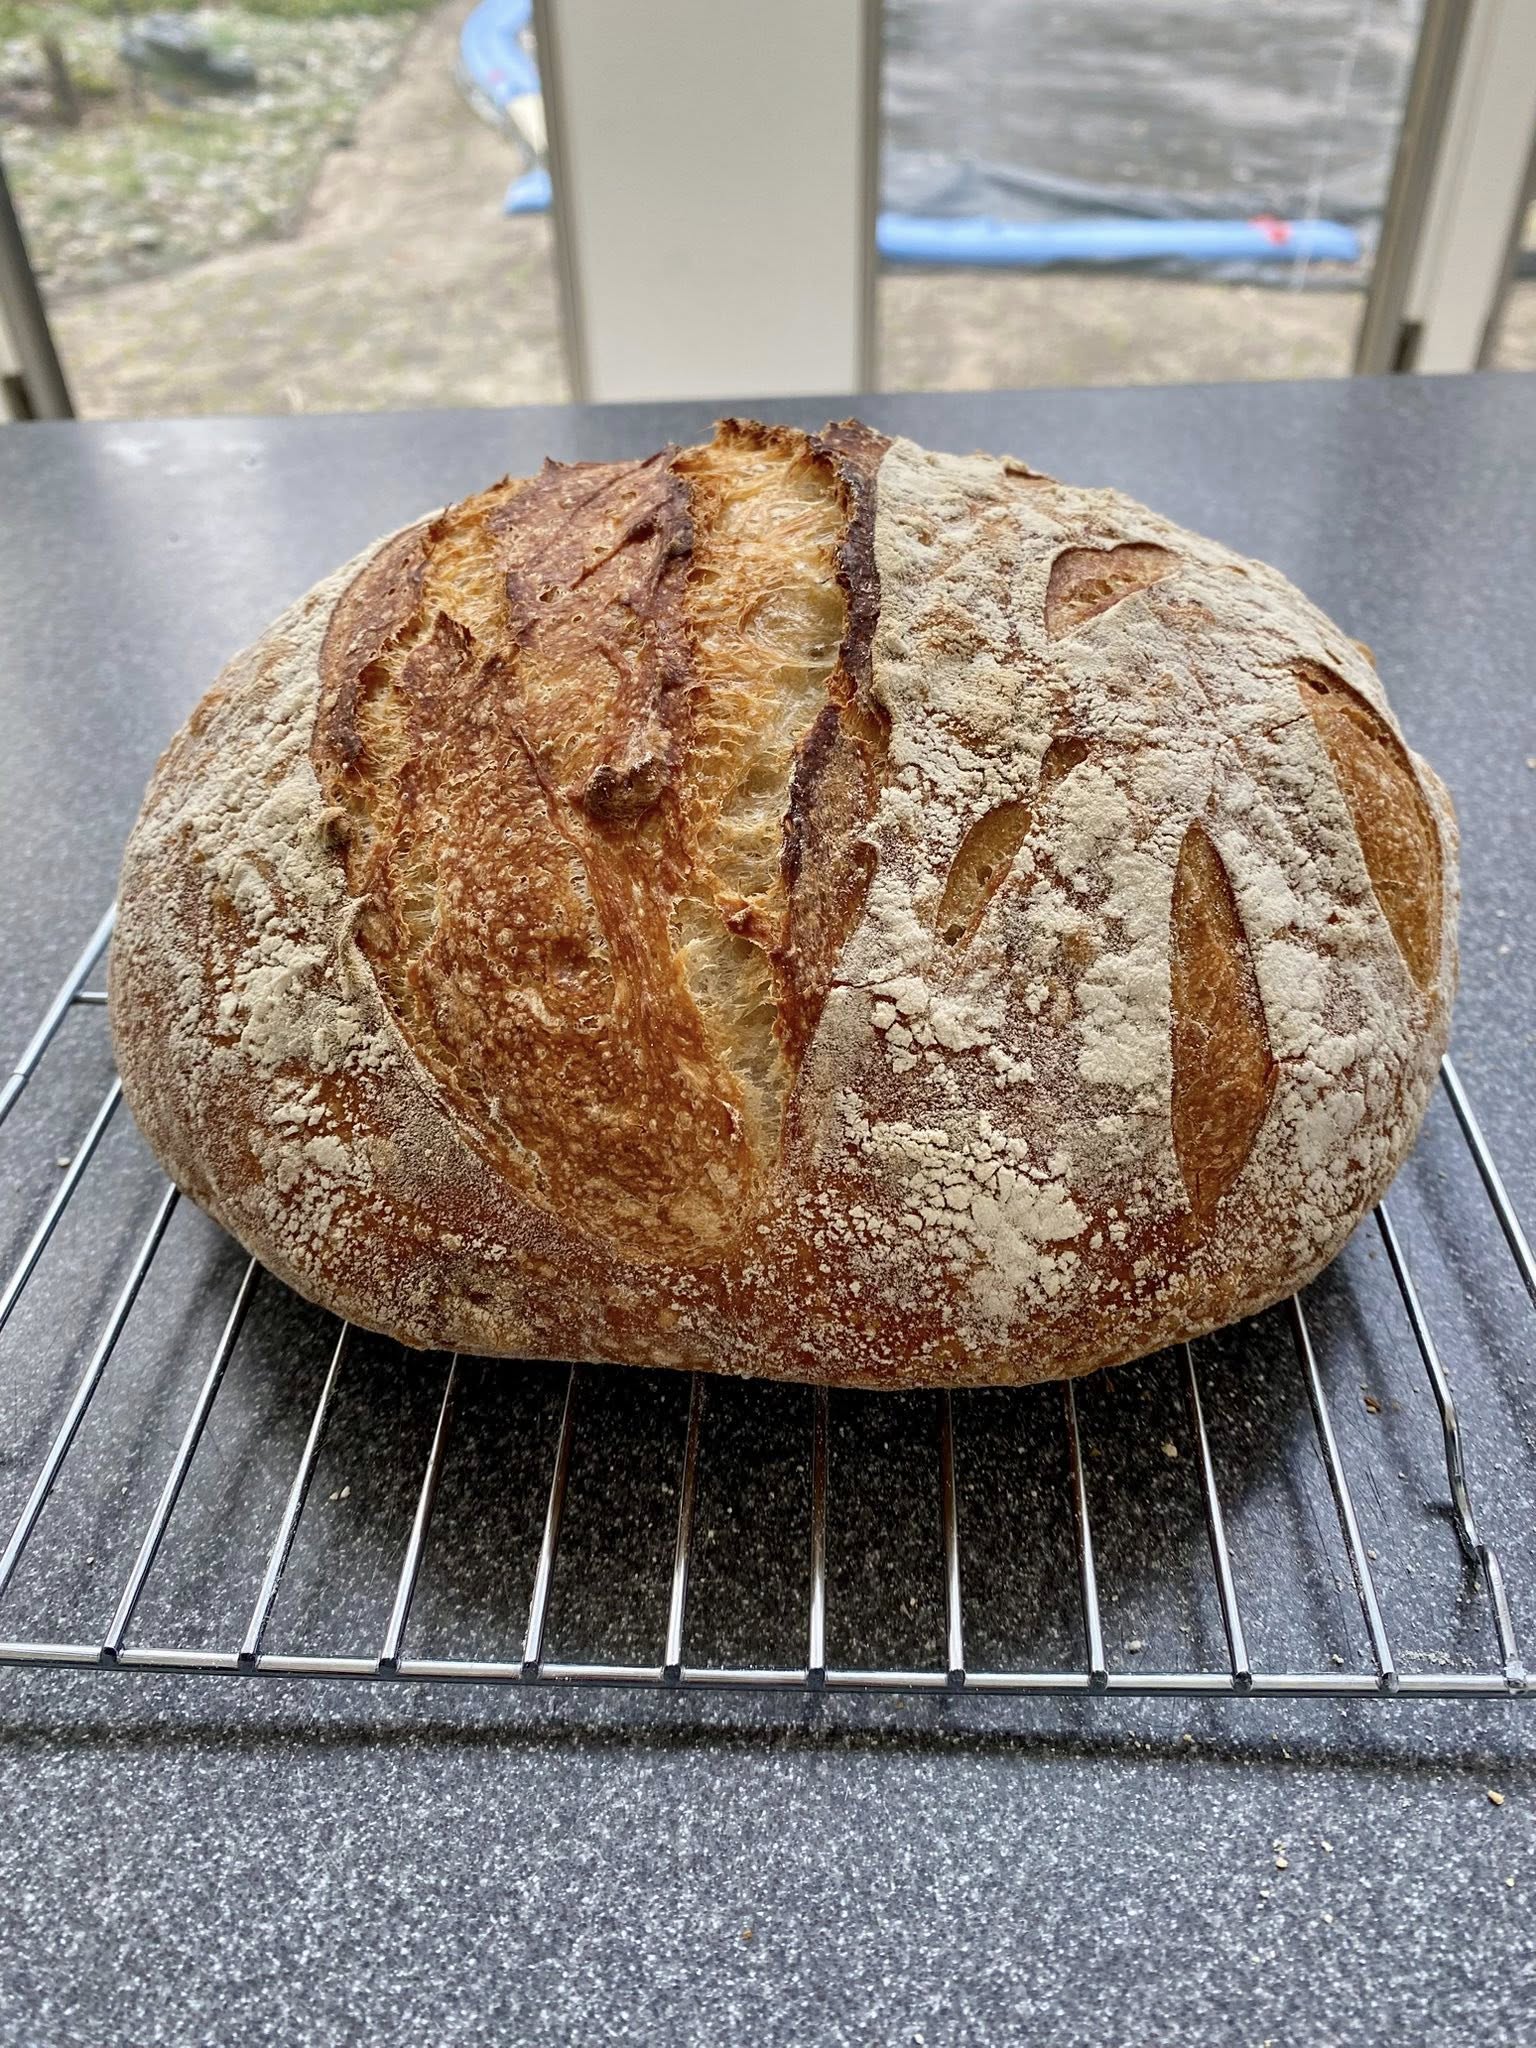
Bake (Color Phase): After 20 minutes, remove the lid. The loaf will be pale and have sprung. Bake for another 20-30 minutes uncovered, until the crust is a deep, rich, burnished brown and sounds hollow when tapped.
Cool: This is non-negotiable. Transfer the loaf to a wire cooling rack and let it cool completely for at least 3-4 hours before slicing. The interior is still cooking and setting during this time. Cutting too early results in a gummy crumb.
Baker’s Notes & Troubleshooting
Starter Readiness: Your starter should reliably double in size 4-8 hours after feeding. If it doesn’t, your bulk fermentation will take much longer.
Temperature is Key: Fermentation time is entirely dependent on your kitchen’s ambient temperature. In a warm kitchen (78°F/26°C), bulk fermentation may take only 5-6 hours. In a cool kitchen, it may need 12+. Learn to read the dough, not the clock.
The Poke Test: For final proof, gently poke the dough. If it springs back immediately, it needs more time. If it springs back slowly, leaving a slight indentation, it’s ready. If it doesn’t spring back at all, it’s over-proofed (bake it anyway, it will still taste good but be flatter).
No Dutch Oven? Use a baking steel/stone and create steam by placing a tray of ice cubes on the oven floor when you load the bread.
Nutritional Information
Serving Size: 1 slice (approx. 1/12th of loaf)
Calories: ~150 kcal
Total Fat: 0.5g
Sodium: 325mg (from salt)
Total Carbohydrates: 30g
Dietary Fiber: 1.5g
Sugars: 0g
Protein: 5g