Total Time: Approximately 24 hours (mostly hands-off fermentation)
Active Prep Time: 30 minutes
Baking Time: 50 minutes
Difficulty: Intermediate
Yields: 1 beautiful round loaf (boule)
A Note From Our Kitchen
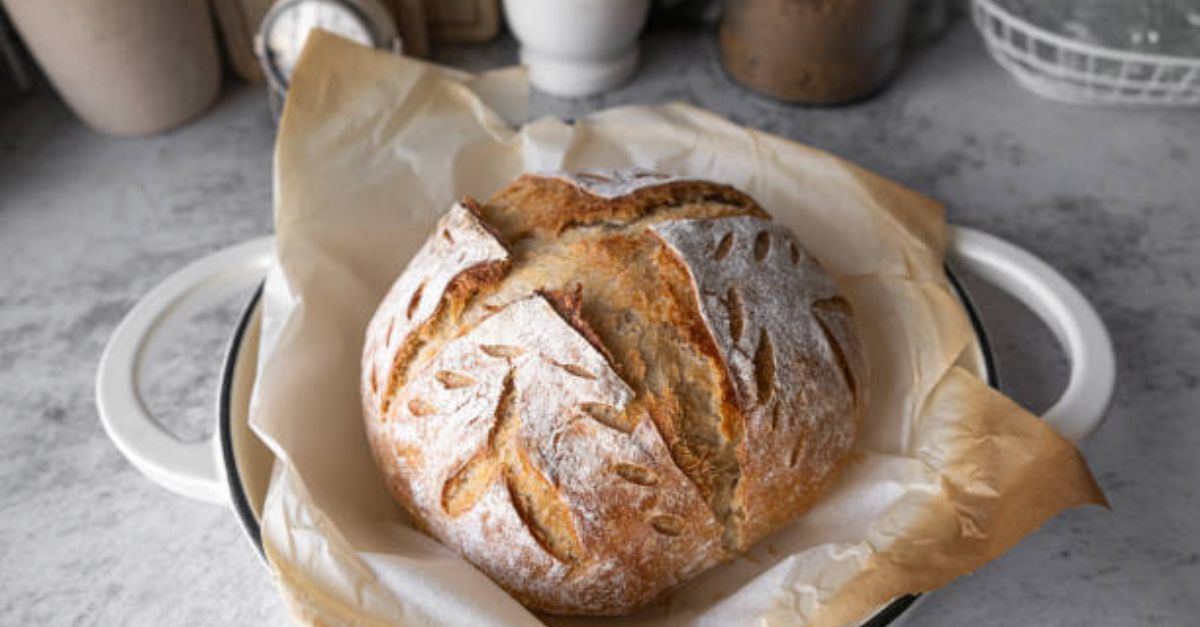
This recipe is for the patient baker. True sourdough is a labor of love and time, where wild yeast and bacteria work their magic to create a loaf with a crackling crust, an open, airy crumb, and that signature complex, tangy flavor. Embrace the process—the slow fermentation is what makes it so special and digestible.
Ingredients
For the Leaven (Made the Night Before):
40g active, bubbly sourdough starter
80g warm water (about 78°F/25°C)
80g bread flour or all-purpose flour
For the Main Dough:
All of the prepared leaven (approx. 200g)
350g warm water (about 80°F/27°C)
500g bread flour (high-protein flour is ideal)
10g fine sea salt
Rice flour, for dusting (optional, prevents sticking)
Equipment:
Digital kitchen scale (essential for accuracy)
Large mixing bowl
Bench scraper
Banneton (proofing basket) or a medium bowl lined with a clean, floured kitchen towel
Dutch oven with lid
Razor blade or sharp lame for scoring
Step-by-Step Instructions
Day 1: Evening (Around 8 PM) – Create the Leaven
In a small jar or bowl, combine the 40g of active starter, 80g warm water, and 80g flour. Mix thoroughly until no dry flour remains.
Cover loosely and let it ferment at room temperature (70-75°F / 21-24°C) for 10-12 hours, overnight. It’s ready when it’s bubbly, nearly doubled in size, and passes the float test: a spoonful of leaven should float in a glass of water.
Day 2: Baking Day
1. Mix the Dough (9:00 AM)
In a large bowl, combine the 350g warm water and all of the ripe leaven. Use your hands or a whisk to dissolve the leaven completely.
Add the 500g bread flour. Mix with your hands or a spatula until no dry flour patches remain. This shaggy mass is the autolyse. Cover and let it rest for 45 minutes. This allows the flour to fully hydrate and gluten to begin developing naturally.
2. Add Salt and Strengthen (9:45 AM)
Sprinkle the 10g of salt over the dough. Add a splash of water (15g) to help incorporate it.
Use wet hands to pinch and fold the dough until the salt is fully dissolved and integrated. The dough will feel wet and slack.
Begin bulk fermentation. Over the next 4-6 hours, you will perform a series of “stretch and folds” to build gluten strength. Every 30 minutes for the first 2 hours, perform a set: Wet your hand, reach under one side of the dough, stretch it up, and fold it over the center. Give the bowl a quarter turn and repeat 3-4 more times until you’ve gone around the bowl. Cover and let rest.
3. Bulk Fermentation & Shape (9:45 AM – 3:00 PM)
After the initial 2 hours of structured folds, let the dough rest undisturbed for the remainder of bulk fermentation. The total time depends on your kitchen temperature. The dough is ready when it has increased 30-50% in volume, looks puffy, and has bubbles visible on the surface and sides.
Shape: Lightly flour your work surface. Gently turn the dough out. Using a bench scraper and floured hands, shape it into a tight round (a boule). Create surface tension by pulling the dough toward you, rotating it, and tucking the edges under.
Generously dust your banneton or towel-lined bowl with a mix of all-purpose and rice flour. Place the dough seam-side up into the basket. This ensures a smooth top after baking.
4. Final Proof (3:00 PM – Choice Time)
You have two options:
Room Temperature Proof: Cover and proof for 2-4 hours, until the dough looks fuller and springs back slowly when gently poked.
Cold Retard (Recommended for Flavor): Cover the basket and place it directly in the refrigerator for 12-16 hours (overnight). This slows fermentation, deepens the flavor, and makes the dough easier to score.
5. Bake (Next Morning or Evening)
Place your Dutch oven with its lid on into your regular oven. Preheat to 500°F (260°C) for at least 45 minutes.
Carefully remove the hot Dutch oven. Take your proofed dough from the fridge. Place a piece of parchment paper over the basket and quickly invert it. The dough should drop out onto the paper.
Using a razor blade, score the top with one confident, deep slash (or a decorative pattern). This controls expansion.
Using the parchment as a sling, carefully lower the dough into the scorching-hot Dutch oven. Put the lid back on.
Bake with lid on: 20 minutes at 500°F (260°C).
Bake with lid off: Reduce heat to 450°F (230°C) and bake for another 25-30 minutes, until the crust is a deep, glorious golden brown and the internal temperature reaches 208-210°F (98-99°C).
Cool: This is crucial! Transfer the loaf to a wire rack and let it cool completely for at least 3-4 hours before slicing. The interior is still cooking, and cutting too soon results in a gummy crumb.
The Last Slice: Why This Process is Worth It
This recipe is more than instructions; it’s an invitation to engage with a living food. The long, slow fermentation breaks down gluten and phytic acid, making the bread more nutritious and easier to digest than its commercial counterparts. The crisp, shattering crust gives way to a chewy, tangy interior with holes perfect for capturing pools of olive oil or melted butter. Each loaf is unique, a snapshot of the microbes in your kitchen and the care you’ve provided. It’s a connection to a baking tradition millennia old, resulting in a simple, profound triumph: your own perfect loaf.
Nutrition Information (Per 1/12th of Loaf, Approximate)
Calories: ~160 kcal
Total Fat: 0.5g
Saturated Fat: 0g
Sodium: 325mg (from salt)
Total Carbohydrates: 33g
Dietary Fiber: 1.5g
Sugars: <1g
Protein: 6g