Prep Time: 30 minutes (plus 12-16 hours inactive)
Cook Time: 40 minutes
Total Time: 13-16 hours
Rising Intensity: Medium-High (requires patience and attention)
Difficulty Level: Intermediate (requires an active sourdough starter)
Yield: 1 beautiful loaf (about 12 slices)
Introduction
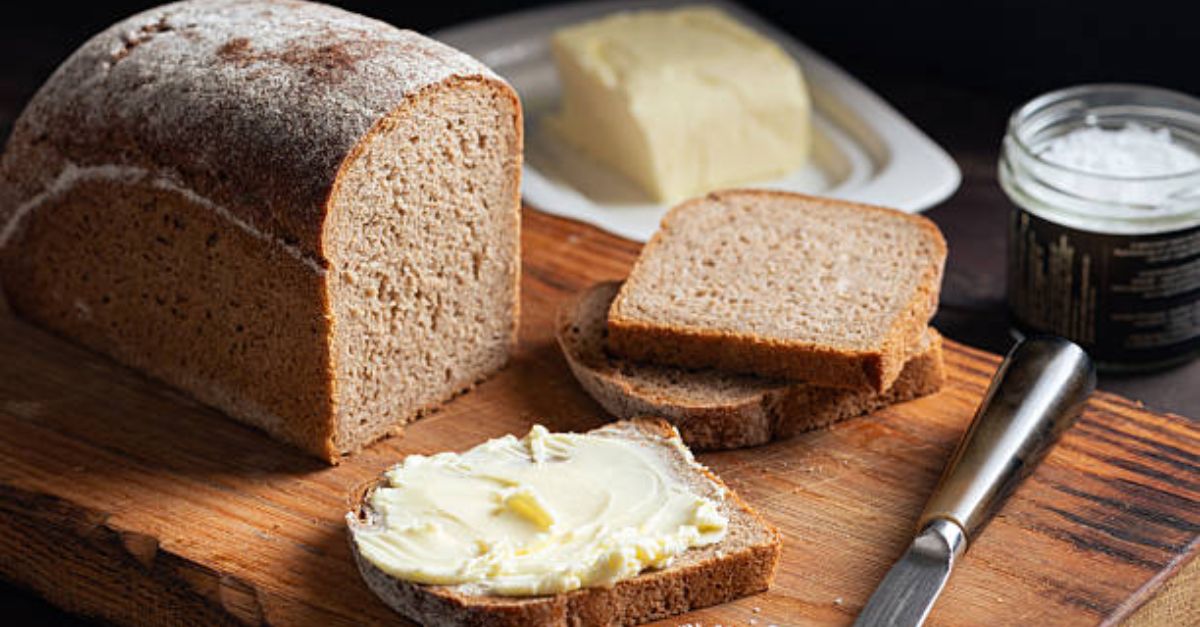
This isn’t just another sourdough boule. This Sourdough Sandwich Loaf is engineered for your daily enjoyment—perfect for toast, sandwiches, and simply slathering with butter. It uses a cleverly enriched dough with a touch of olive oil and honey to create a soft, supple crumb and a delicate crust, while maintaining that beloved, complex sourdough flavor. While it requires patience through its long, slow fermentation, the hands-on work is minimal, making it an immensely rewarding project for any sourdough enthusiast.
Why You’ll Love This Recipe
-
Perfect Texture: A soft, springy interior with just enough chew.
-
Balanced Flavor: A gentle, tangy sweetness that complements any topping.
-
Long Shelf Life: Natural sourdough fermentation keeps it fresh for days.
-
No Commercial Yeast: Pure, slow-fermented sourdough goodness.
Ingredients
| Ingredient | Weight (Metric) | Volume (US) | Notes |
|---|---|---|---|
| Active Sourdough Starter | 100g | ½ cup (scant) | Must be ripe, bubbly, and at peak activity. |
| Water, lukewarm | 300g | 1 ¼ cups | Around 85°F (30°C). |
| Honey (or Maple Syrup) | 25g | 1 tbsp + 1 tsp | Adds subtle sweetness and softens the crumb. |
| Extra Virgin Olive Oil | 25g | 2 tbsp | For tenderness and a richer flavor. |
| Bread Flour | 450g | 3 ¾ cups (spooned & leveled) | High-protein flour (12-13%) is best. |
| Fine Sea Salt | 9g | 1 ½ tsp |
Equipment
-
9×5 inch (1 lb) Loaf Pan
-
Digital kitchen scale (highly recommended)
-
Large mixing bowl or stand mixer with dough hook
-
Dough scraper
-
Clean kitchen towel or proofing bag
-
Wire cooling rack
Step-by-Step Instructions
1. Mix & Autolyse (9:00 AM)
In a large bowl, combine the active sourdough starter, lukewarm water, and honey. Whisk briefly to disperse. Add all of the bread flour and mix with a sturdy spoon or your hands until no dry flour remains. The dough will be shaggy. Cover the bowl and let it rest for 30 minutes. This autolyse allows the flour to fully hydrate, developing gluten with minimal kneading.
2. Mix in Salt & Oil (9:30 AM)
After the rest, add the salt and olive oil to the dough. Use wet hands to pinch and fold the dough until the salt and oil are fully incorporated. This will take 2-3 minutes. The dough will be slippery at first but will come together.
3. Bulk Fermentation & Stretch & Folds (9:45 AM – 3:00 PM)
This is the main rising period. Cover the bowl and let the dough rest at warm room temperature (72-78°F or 22-26°C) for 5-6 hours. During the first 2 hours, perform 4 sets of “stretch and folds.” Every 30 minutes, wet your hand, grab one side of the dough, stretch it up, and fold it over the center. Rotate the bowl and repeat on all 4 sides. This builds incredible strength without heavy kneading. After the final set, leave the dough undisturbed for the remainder of bulk fermentation. It should look puffy, have increased by about 50%, and may have some bubbles on the surface.
4. Shape & Cold Proof (3:00 PM – Next Morning)
Lightly flour your work surface. Gently turn the dough out and pat it into a rough rectangle. Fold the top third down to the center, then the bottom third up (like a letter). Then, starting from the top, roll the dough down into a tight log. Pinch the final seam closed.
Generously grease your 9×5 inch loaf pan. Place the dough log, seam-side down, into the pan. Cover lightly with a damp towel or place the whole pan inside a large plastic bag. Let it sit at room temperature for 30 minutes, then transfer to the refrigerator for a 12-16 hour cold proof. This slow rise develops incredible flavor and makes the dough easier to score.
5. Bake (Next Morning, 8:00 AM)
Preheat your oven to 400°F (200°C) with a rack in the center position. Let the loaf sit on the counter while the oven heats (about 30 minutes). It should look slightly puffy above the rim of the pan.
Optionally, for a professional finish, make one shallow slash lengthwise down the center of the loaf with a sharp razor or lame.
Bake for 40-45 minutes, until the loaf is a deep, golden brown and the internal temperature reads 208-210°F (98-99°C) when measured with an instant-read thermometer.
6. Cool (CRUCIAL STEP!)
Immediately turn the loaf out of the pan onto a wire cooling rack. Let it cool completely for at least 3-4 hours before slicing. The bread is still cooking internally during this time, and slicing too soon will result in a gummy crumb.
Nutrition Information
*Serving Size: 1 slice (approx. 1/12th of loaf)*
-
Calories: 195 kcal
-
Total Carbohydrates: 37g
-
Dietary Fiber: 1.5g
-
Sugars: 3g
-
Protein: 5g
-
Total Fat: 3g
-
Saturated Fat: 0.5g
-
Sodium: 295mg