Total Time: Approximately 24-30 hours (including fermentation and cooling)
Active Time: About 45-60 minutes
Difficulty: Advanced
Yield: 1 large loaf
Introduction
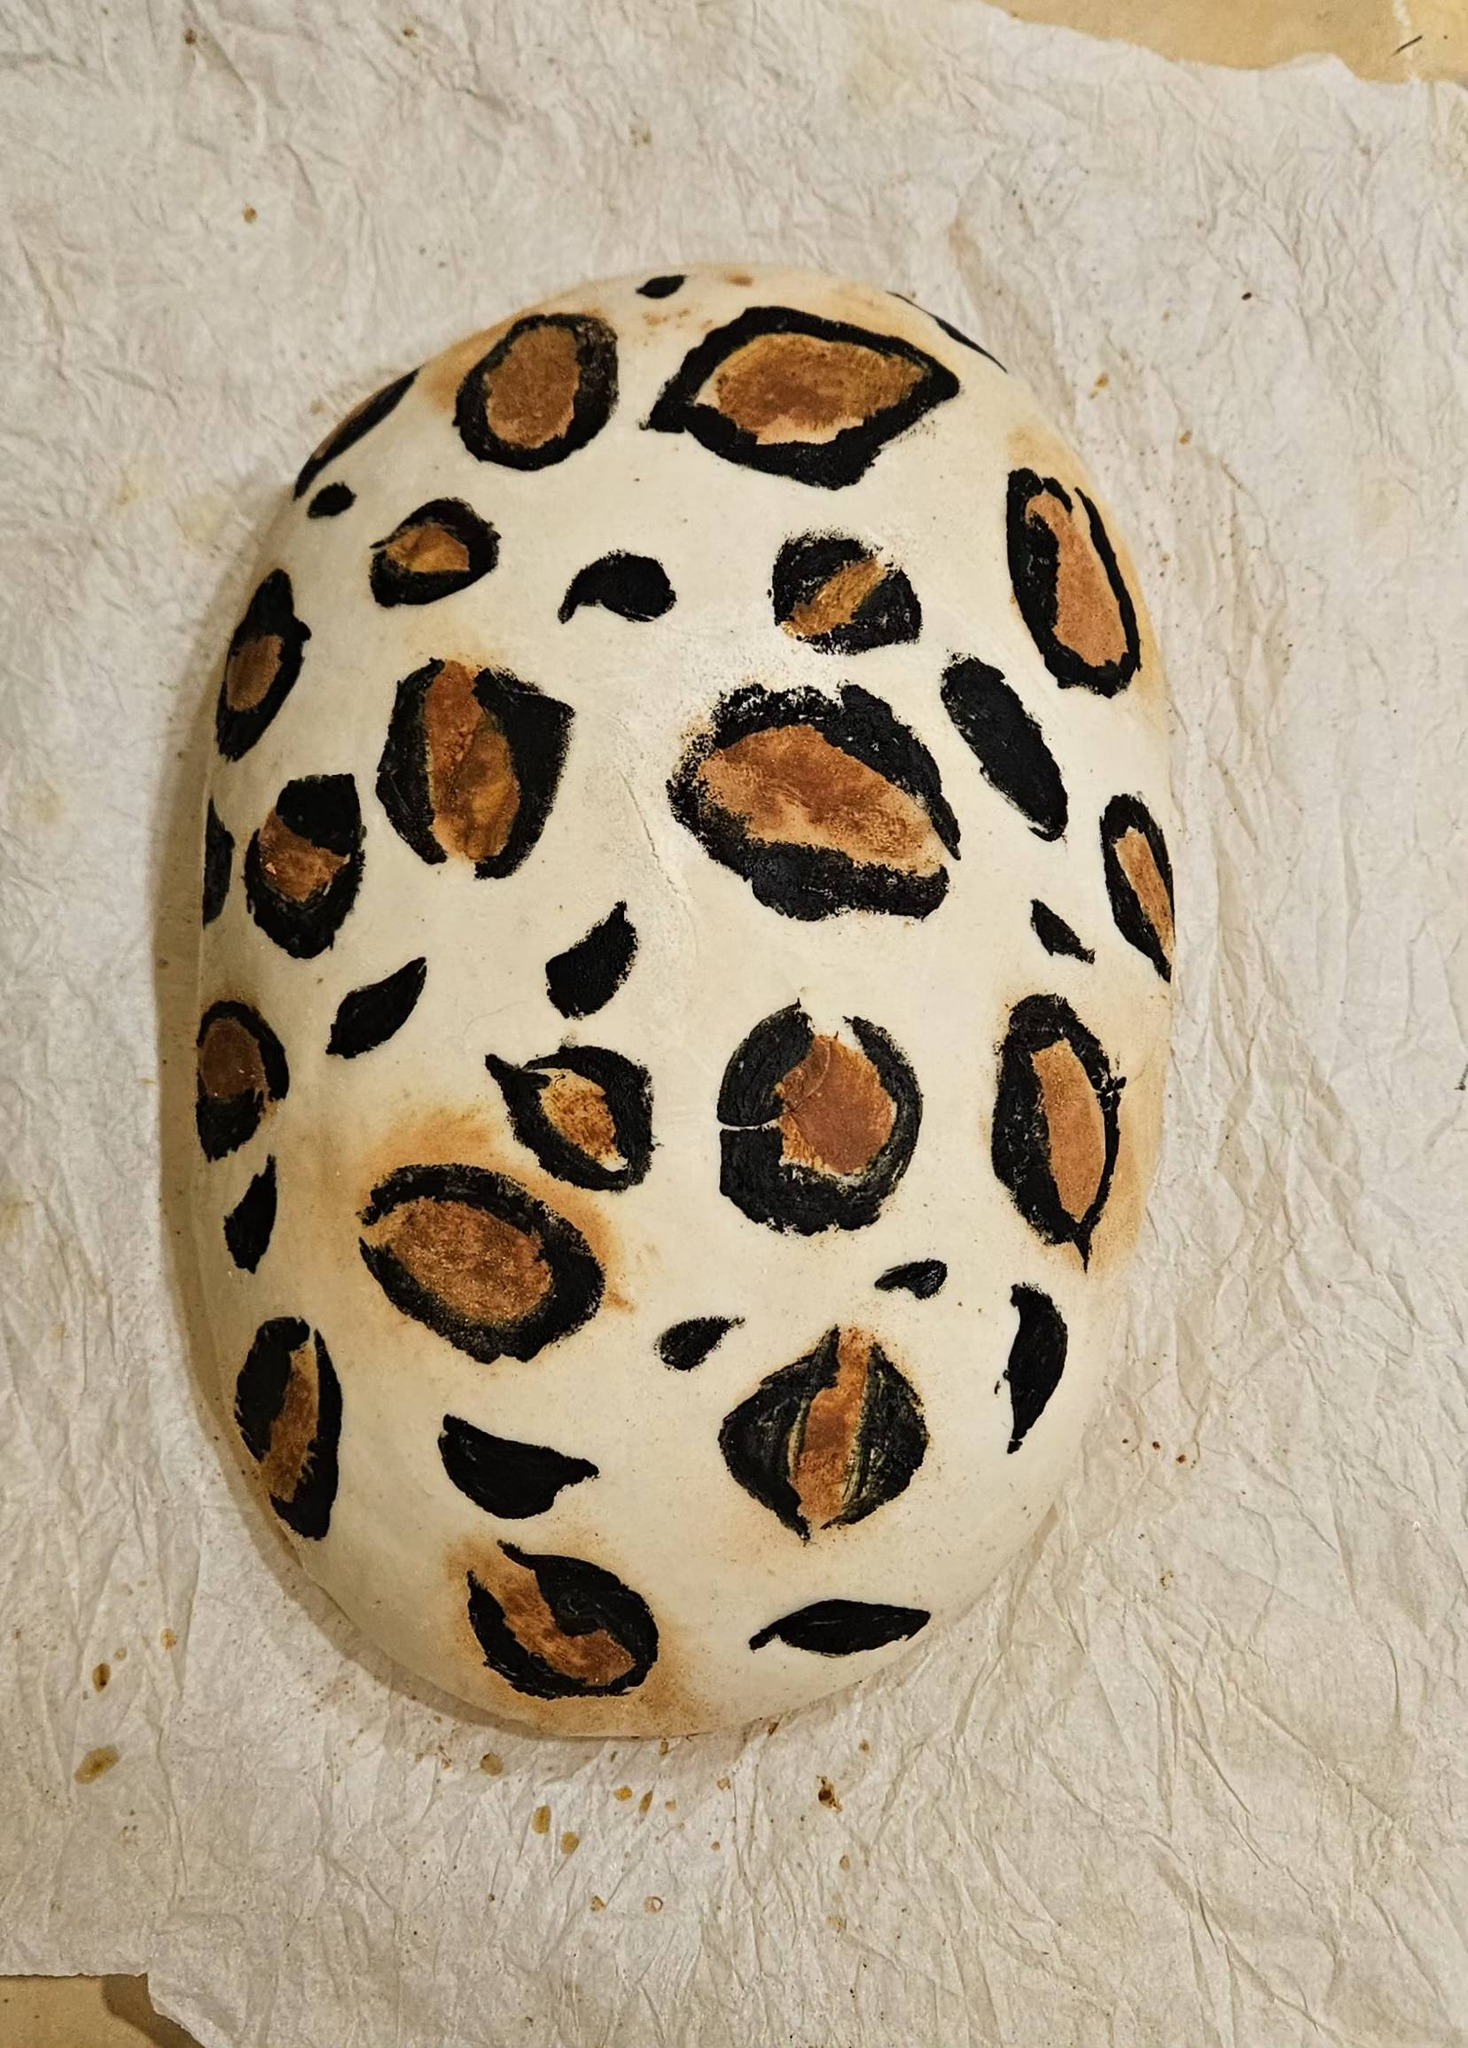
Leopard print sourdough is a show-stopping artisan loaf that combines a dark, flavorful crust with a striking, marbled crumb. This effect is achieved by creating two distinct doughs—one dark with activated charcoal or cocoa powder, and one light—and layering them strategically during shaping. The result is a dramatic, wild pattern that reveals itself with every slice. While this recipe requires patience and attention to detail, the reward is a visually stunning, tangy, and complex sourdough that’s as delicious as it is beautiful.
Ingredients
For the Light Dough:
500g strong bread flour (preferably high-protein, 12-14% protein)
350g filtered water, at room temperature (70% hydration)
100g active sourdough starter (100% hydration, at peak rise)
10g fine sea salt
10g olive oil (optional, for a slightly more supple dough)
For the Dark Dough:
300g strong bread flour
210g filtered water, at room temperature
60g active sourdough starter (100% hydration, at peak rise)
6g fine sea salt
10g activated charcoal powder or 15g high-quality unsweetened cocoa powder
5g olive oil (optional)
Equipment
2 large mixing bowls
Kitchen scale
Bench scraper
Dough whisk or fork
Plastic dough scrapers
Banneton (proofing basket) or bowl lined with a well-floured tea towel
Dutch oven or combo cooker
Razor blade or lame for scoring
Parchment paper
Spray bottle for water
Method
Day 1: Evening – Autolyse & Dough Mixing
(Time: 20 minutes active)
Prepare the Autolyse (Light Dough): In a large bowl, combine the 500g of flour and 350g of water for the light dough. Mix until no dry flour remains. Cover and let it rest for 1 hour. This process (autolyse) hydrates the flour and develops initial gluten structure.
Mix the Light Dough: To the autolyzed mixture, add the 100g of active starter. Use wet hands to pinch and fold until fully incorporated. Let it rest, covered, for 30 minutes.
Add Salt & Oil: Sprinkle the 10g of salt and optional olive oil over the dough. Dimple it in with wet fingers, then fold and squeeze until the salt is fully dissolved and integrated. The dough will become messy, then smooth. Cover.
Mix the Dark Dough: While the light dough rests, mix the dark dough. In a separate bowl, whisk together the 300g flour and 10g activated charcoal (or 15g cocoa powder). Add the 210g water and mix until combined. Let it rest for 15 minutes. Then, add the 60g starter, mix, rest 30 minutes, and finally add the 6g salt and optional oil, mixing thoroughly.
Bulk Fermentation Begins: Place both covered bowls in a warm spot (75-78°F / 24-26°C is ideal). This is the start of a 4-6 hour bulk fermentation process.
Day 1: Night – Co-Fermentation & Folds
(Time: 15 minutes active, spread over hours)
Stretch and Folds: Over the next 3-4 hours, you will perform 3-4 sets of “stretch and folds” on each dough separately. For each set, wet your hand, grab one edge of the dough, stretch it upwards, and fold it over the center. Rotate the bowl and repeat 4-5 times until the dough feels tighter. This builds strength. Perform a set every 45-60 minutes.
Combine the Doughs (The Key Step): After the final fold for both doughs, let them rest for 30 minutes. Then, turn them out onto a clean, un-floured surface. Gently press and stretch the light dough into a rough rectangle. Place the dark dough on top in smaller, torn or roughly shaped pieces, leaving some gaps.
Create Layers: Fold the edges of the light dough up and over the dark pieces, not aiming to mix, but to create a rough, layered parcel. Use a bench scraper to gently fold the mass over itself 2-3 times. You want distinct streaks and pockets, not a homogeneous gray dough.
Final Bench Rest: Shape the marbled mass into a loose round. Cover with a bowl or damp towel and let it rest on the bench for 25 minutes.
Day 1: Late Night – Shaping & Cold Proof
(Time: 15 minutes active)
Pre-Shape: Gently shape the dough into a round, creating surface tension. Let it rest, seam-side down and covered, for 20 minutes.
Final Shape & Into the Banneton: Lightly flour the top of the dough and your banneton. Flip the dough so the smooth side is down. Perform your final shaping (a round boule or oval batard), focusing on building tension. Place the loaf, smooth side down, into the floured banneton. The “seam” side from folding is now the top.
Cold Proof: Place the entire banneton inside a reusable plastic bag or cover loosely. Refrigerate for 12-16 hours. This slow proof develops incredible flavor and makes the dough easier to score.
Day 2: Baking Day
(Time: 1 hour active, plus cooling)
Preheat (1 hour before baking): Place your Dutch oven (with lid on) into your oven. Preheat to 500°F (260°C) for a full hour.
Score: Carefully remove the dough from the fridge. Place a sheet of parchment paper over the banneton, flip it over, and gently lift the basket away. The dough should hold its shape. Using a razor blade, score deeply (at least ½ inch) around the perimeter of the loaf. DO NOT score the top center. This forces the “ears” to open around the sides, exposing the beautiful leopard print crumb from the top. You can add a few shallow decorative slashes on top if desired.
Bake: Using the parchment as a sling, carefully lower the dough into the scorching-hot Dutch oven. Spritz the top of the dough generously with water (for extra blistering). Cover with the lid and immediately reduce the oven temperature to 450°F (230°C). Bake for 20 minutes.
Uncover & Finish: After 20 minutes, remove the lid. The loaf will be pale and have just started to spring. Reduce heat to 425°F (220°C) and bake for another 20-25 minutes, until the crust is deep, dark brown and crackly, and sounds hollow when tapped.
Cool: This is crucial. Transfer the loaf to a wire rack and let it cool completely—at least 4 hours, preferably 6-8. Cutting too soon releases steam and makes the crumb gummy, obscuring your beautiful leopard print.
Nutrition Information (Per Approximate 100g Slice, estimated)
Calories: ~250 kcal
Total Carbohydrates: ~50g
Dietary Fiber: ~2g
Sugars: <1g
Protein: ~9g
Total Fat: ~1g
Sodium: ~390mg